Undertaking DIY projects during Halloween, helps you to keep the family engaged and it also adds an extra layer of creativity and personalization to the festive season.
Transform your living space this Halloween by decorating your walls with these spooky yet simple DIY spiders. This DIY project perfectly combines the spooky Hallowen feeling with a touch of elegance, resulting in a decor masterpiece that will help you to get ready for the Halloween season.
TOOLS USED
18V ONE+™ Cordless Glue Gun
MATERIALS USED
Fake Assorted Bugs
Hanging Wooden Plaque
Metallic Paint
STEP 1
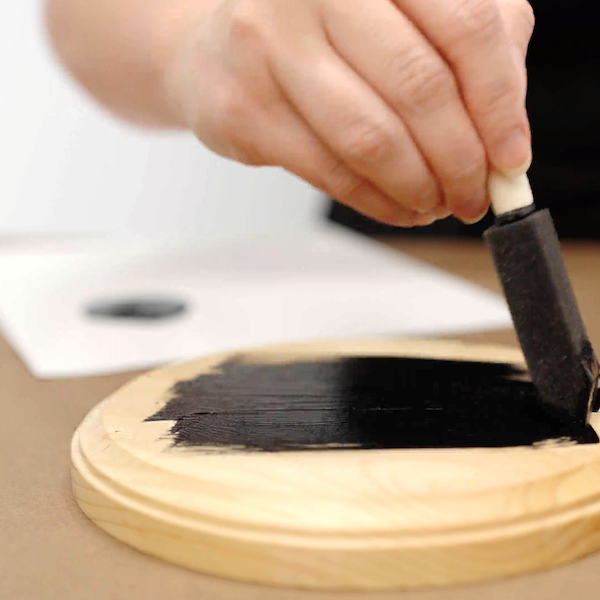
Place the wooden plaques on a table and apply a few coats of paint of your choice to them. Consider using black for more spookiness.
STEP 2
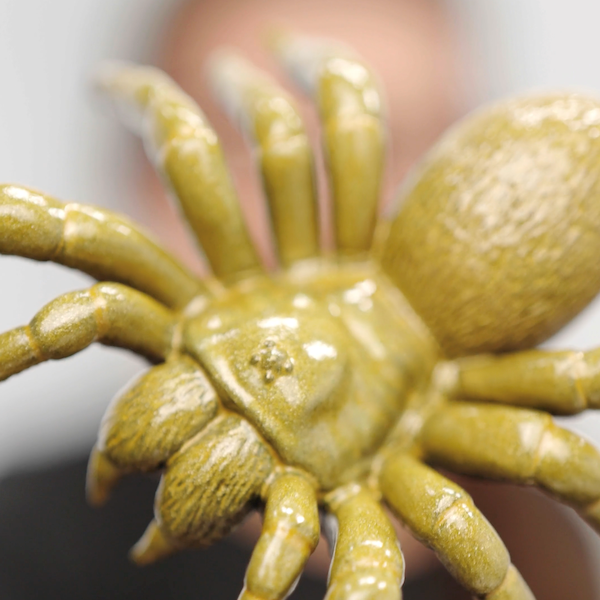
Use spray paint to colour all of the bugs in a desired color. Consider using orange or gold to make sure it goes well with the coloured wooden plaques.
If you are feeling creaitve you could even add stripes to make the spiders more spooky.
STEP 3
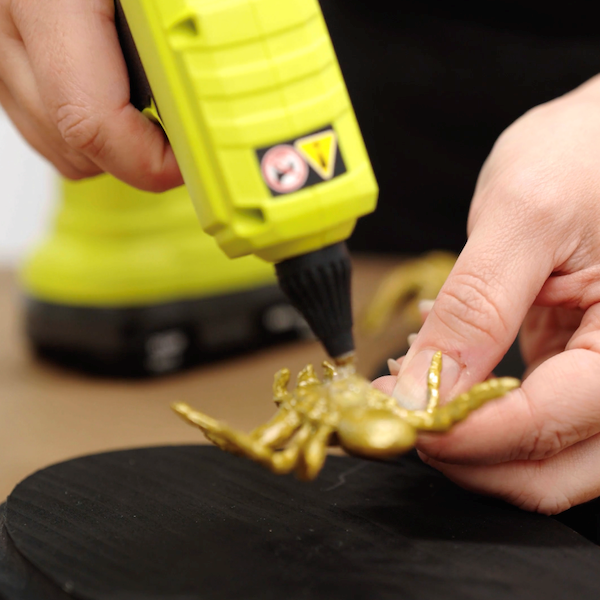
Apply a dot of hot glue to each bug with the 18V ONE+™ Cordless Glue Gun. Press onto the wood plaques.
Alternatively you can also use regular glue but the 18V ONE+™ Cordless Glue Gun makes your job easier.
Once compeleted, you can set these spooky Halloween spiders up on your wall or anywhere around the home if you are feeling creative.
It is the perfect way get into the Halloween spirit.
Don't forget to tag us in your DIY projects on @ryobitoolsuk