With Halloween around the corner, it is time to get ready for the trick or treaters. Make decorating pumpkins easy by carving your pumpkin using an ONE+ rotary tool vs the traditional methods which can get a bit messy! Pick your own design or use the included designs to give your pumpkins their very own personality.
MATERIALS USED
A pumpkin
A stencil of your choice
TOOLS USED
18V ONE+™ Cordless Rotary Tool
STEP 1
If you are feeling artistic or if you are looking for a challenge, feel free to trace the design of your choice without the use of a template.
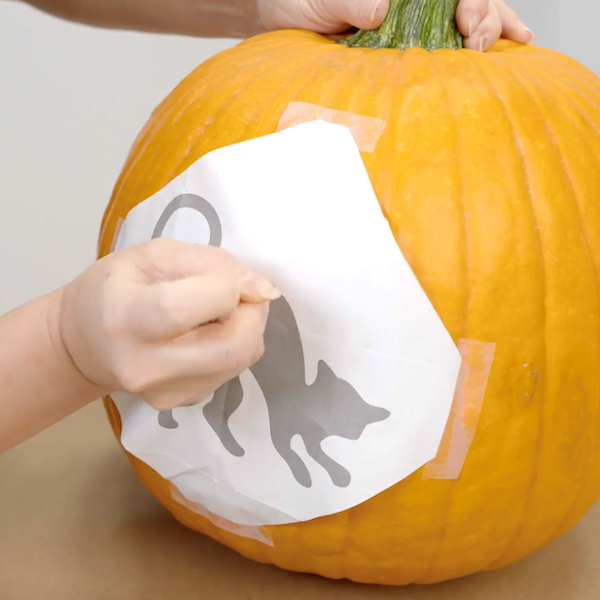
Draw your design on the pumpkin or use a stencil template of your choice. You can find many Halloween stencil templates online which you can print out and trace onto your pumpkin.
Tip: Use tape to attach the stencil to the pumpkin to make it easier for you to trace
STEP 2
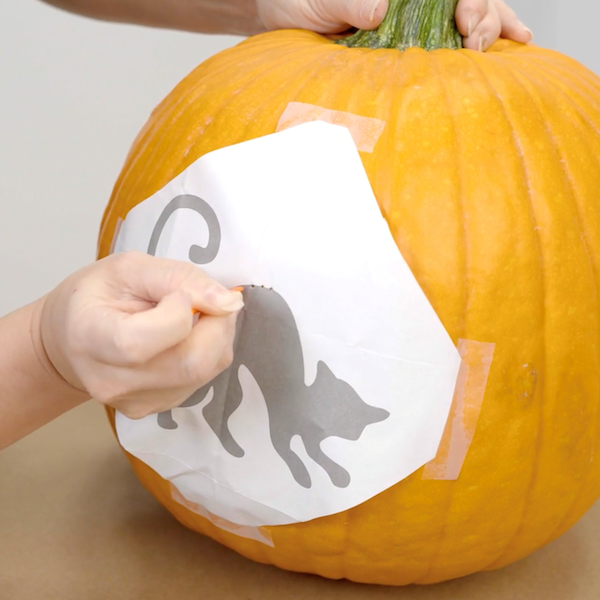
Trace your selected template or the design if your choice by making indentations around the border of the design.
STEP 3
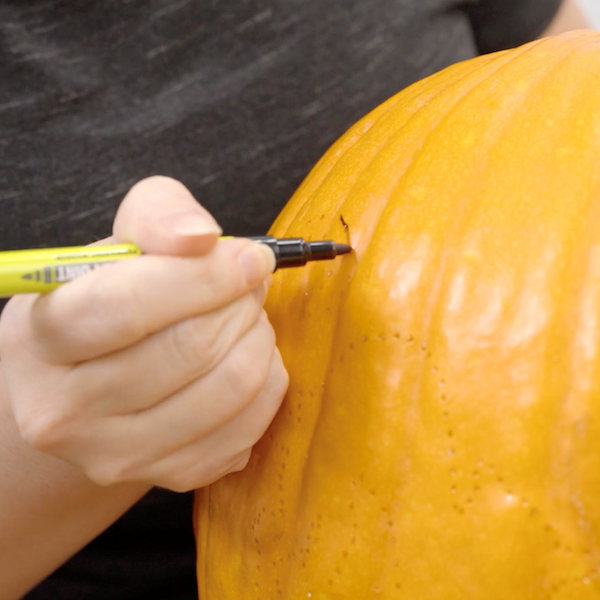
Connect all of the indentation marks together using a marker.
Now you are ready to start engraving the design into the pumpkin.
STEP 4
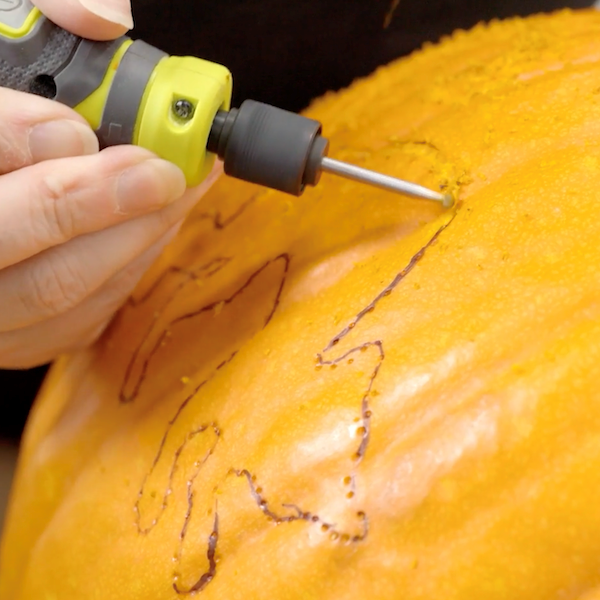
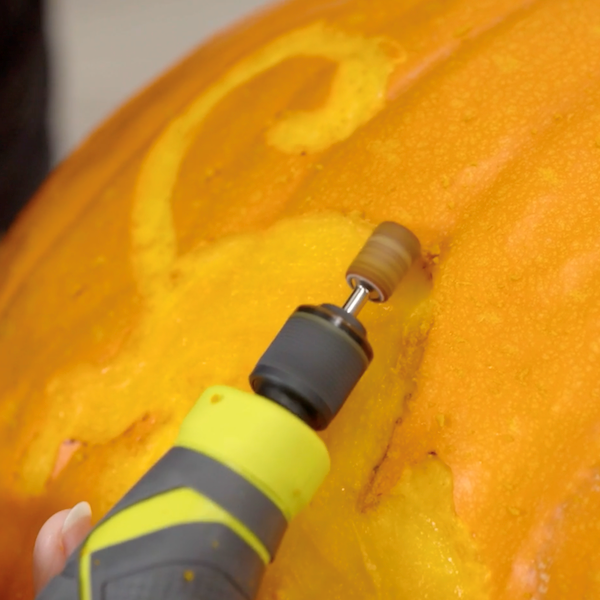
Engrave the design into the pumpkin using the ball engraving burr of the 18V ONE+™ Cordless Rotary Tool.
STEP 5
Use a sanding band with the rotary tool to smooth and refine the design.
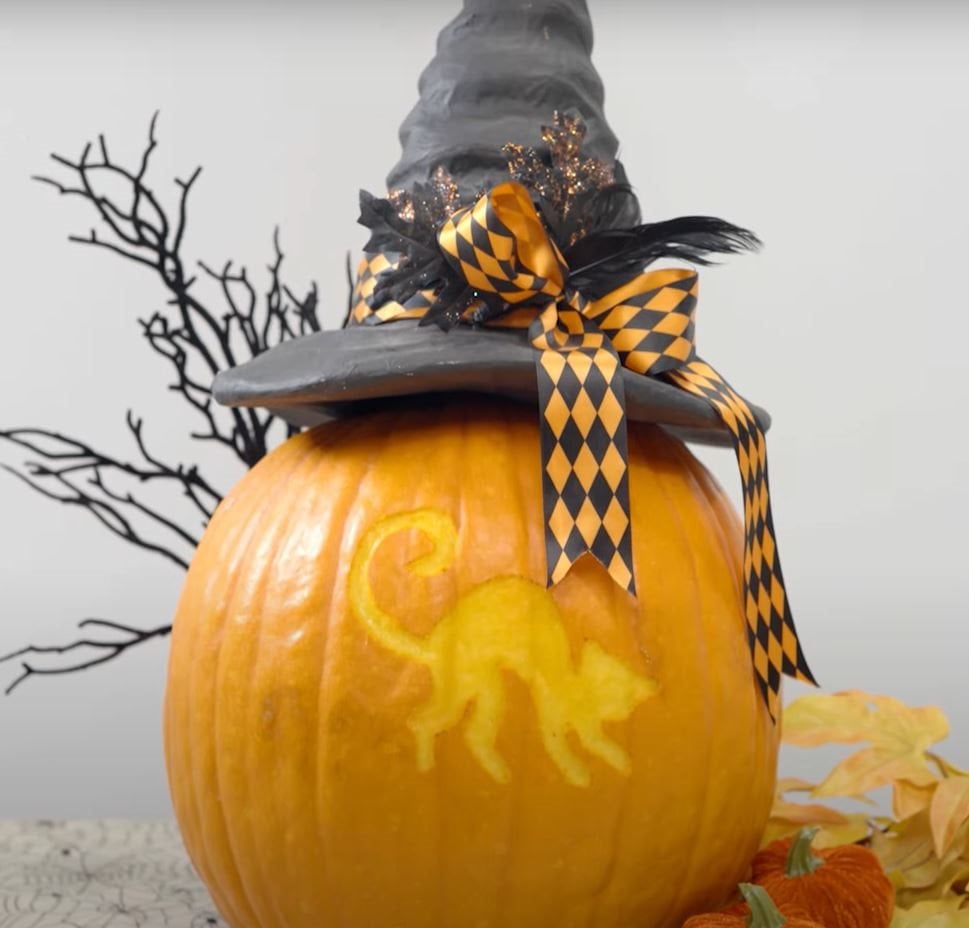
Once you are happy with the pumpkin, feel free to use your imagination to decorate it in the spookiest way possible to embrace the Halloween spirit.
Don't forget to tag us in your DIY projects on @ryobitoolsuk