As the leaves change and the nights grow longer, it is time to start preparing for Halloween.
Get your porch ready for trick or treaters this Halloween season with a modern Outdoor Pumpkin Topiary to fit your favorite Halloween decor aesthetic.
TOOLS USED:
4V Cordless Rotary Tool Starter Kit
18V ONE+™ HP Cordless Brushless Performance Drill
18V ONE+™ Cordless Glue Gun
MATERIALS USED:
6.3mm Dowel
Dry Foam
Faux Moss
Faux Pumpkins
Halloween Decor
Large Plant Pot
Mini String Lights
STEP 1
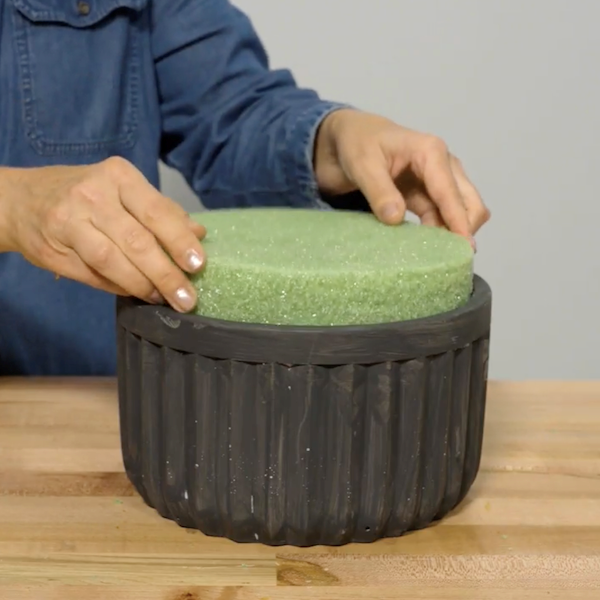
Add a few layers of circular cut dry foam to an outdoor pot. Alternatively you can also use sand if you do not have foam at home.
STEP 2
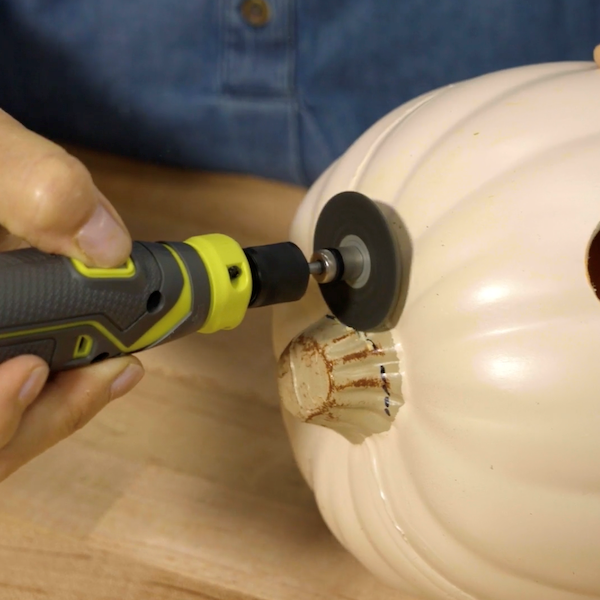
Cut off the stems of the pumpkins on two of the faux pumpkins using the 4V Cordless Rotary Tool Starter Kit.
STEP 3
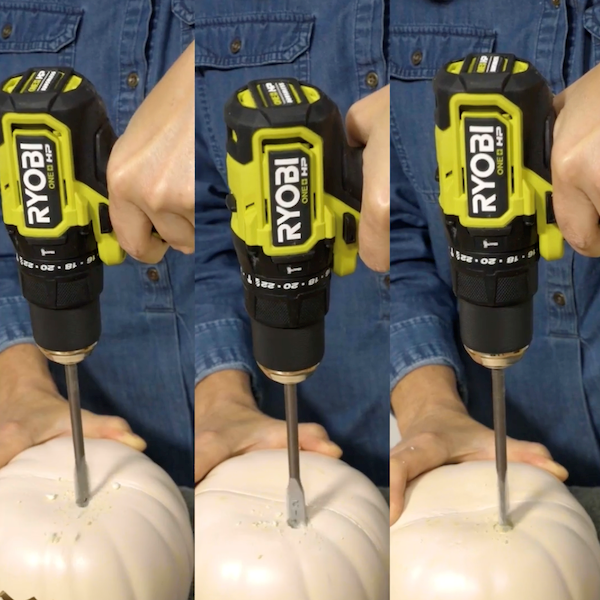
Line up all of the pumpkins to determine where each will attach to each other. Use a spade bit to drill a hole in the bottom of each pumpkin with the 18V ONE+™ HP Cordless Brushless Performance Drill.
STEP 4

Mark where the bottom hole in each pumpkin will line up with the top. With the 18V ONE+™ HP Cordless Brushless Performance Drill, drill a hole in two of the tops of the pumpkins without stems.
STEP 5
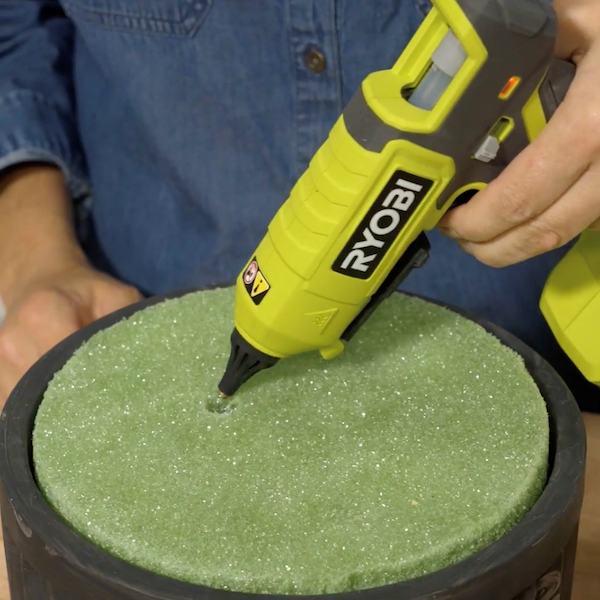
Mark where the topiary will be placed in the pot. Apply a dot of hot glue with the 18V ONE+™ Cordless Glue Gun and stick the dowel into the foam.
STEP 6
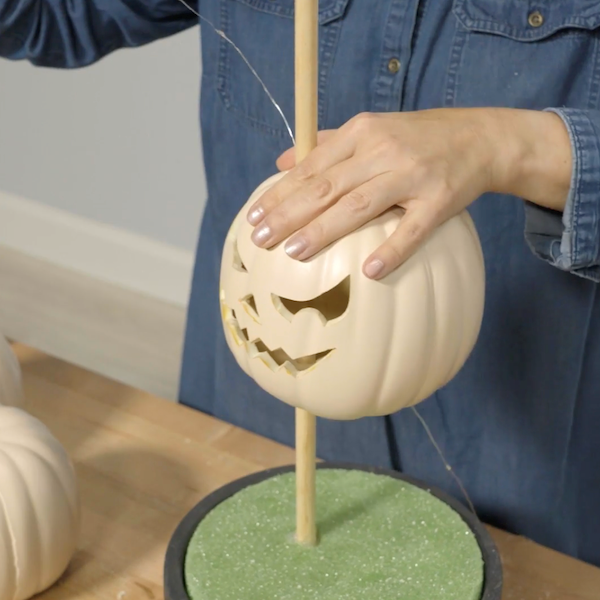
Thread mini string lights through a pumpkin. Place each pumpkin down onto the dowel, with the pumpkin with the stem on the very top.
STEP 7
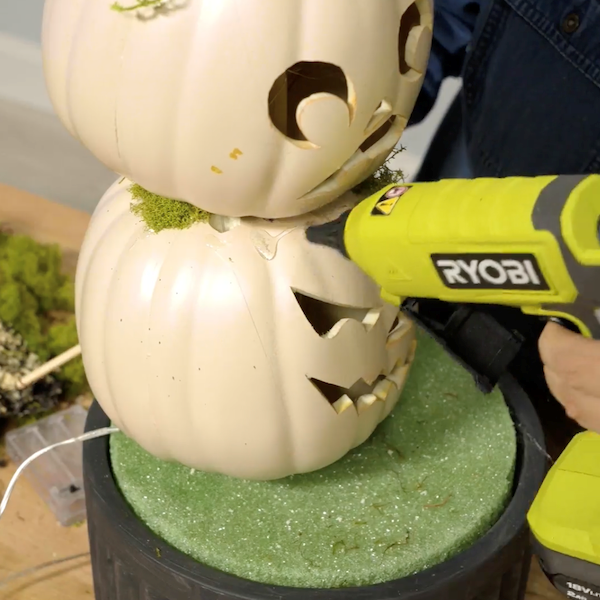
Apply moss and decor around the areas where the pumpkins connect and around the base where the foam is using hot glue.

Don't forget to tag us in your DIY projects on @ryobitoolsuk