This fun and easy DIY Hall Pass Station is perfect for a back to school project. Being a teacher means keeping track of your students while also teaching, and with a classroom full of children there is only so much you and your tutors can do!
With this hall pass station, keeping track of where your students go is easy! Personalise the hall passes with your own areas and topics suited to your learning environment. So why not start the school year right and make your classroom pop with both colour and organisation.
For this project you will need:
STEP 1
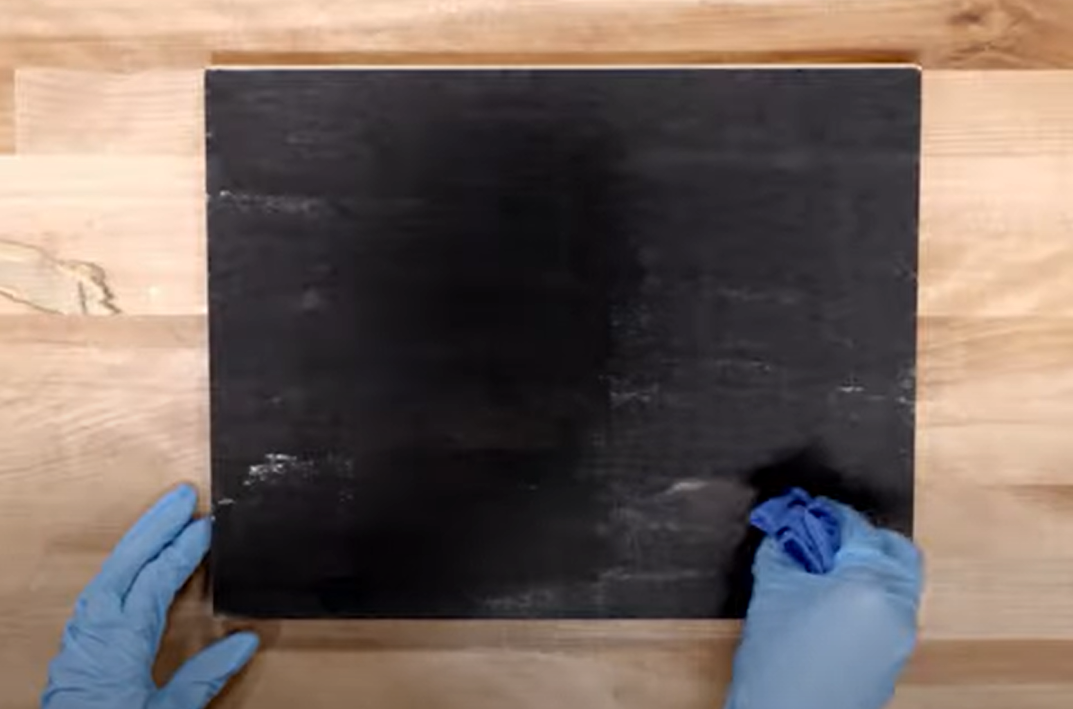
Begin by staining your square and smaller rectangles of wood. Make sure to let it dry fully and stain again if you want the color to darken.
STEP 2

Print out or draw your desired design and words that will be put onto the wood.
STEP 3
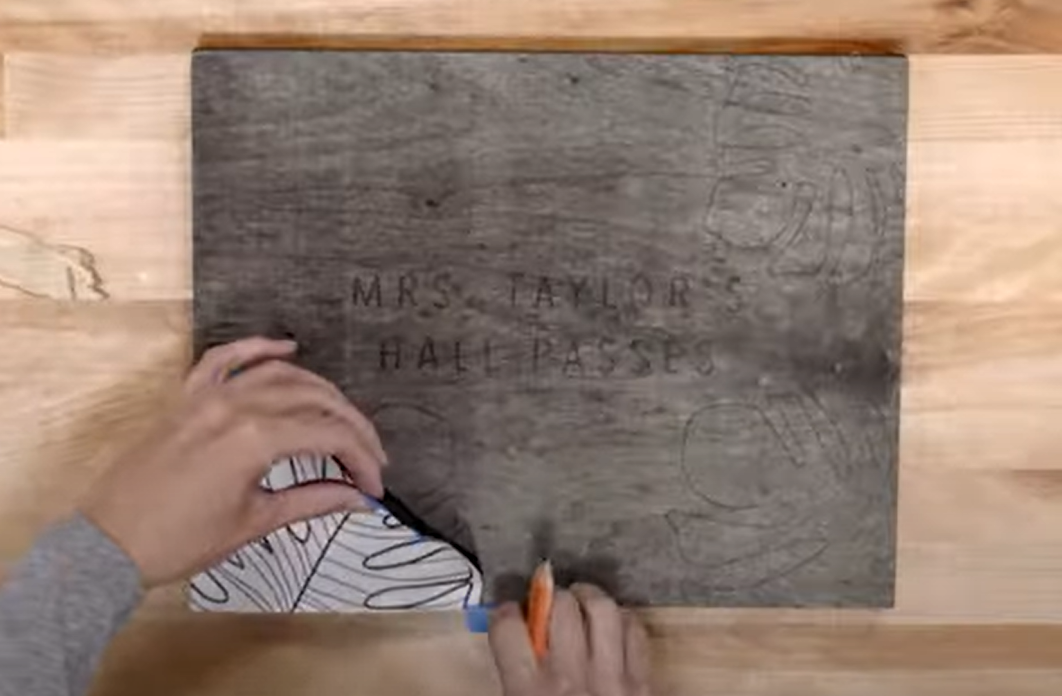
Tape down your design using painters tape. Carefully trace out your design and words onto the wood.
STEP 4
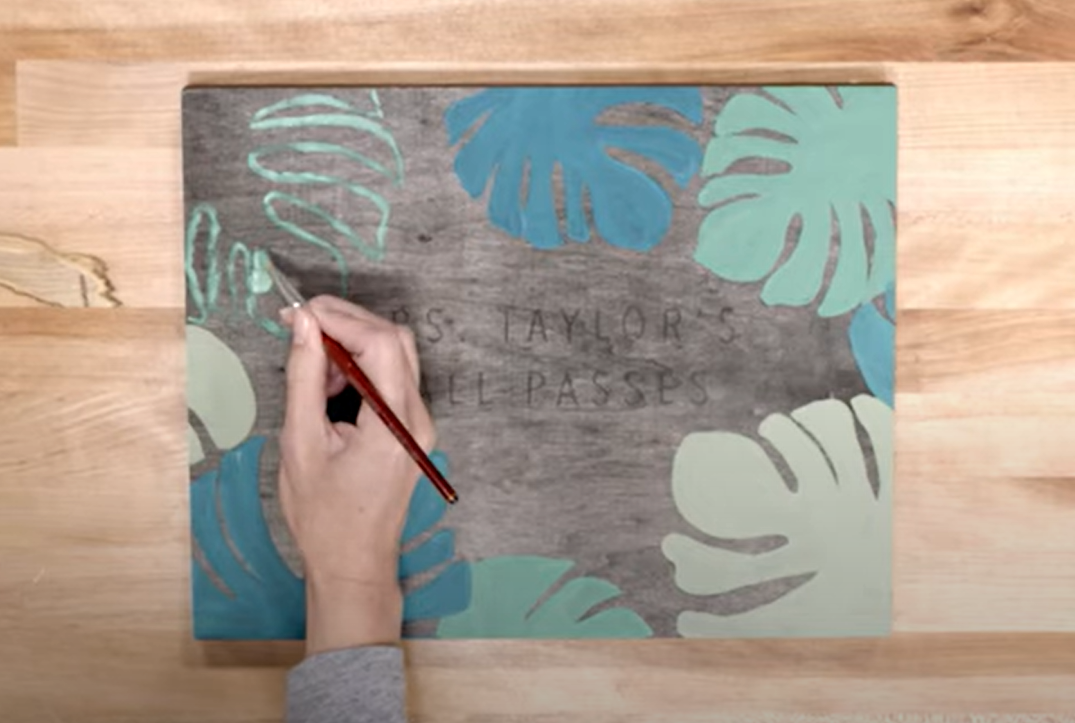
Paint your design to your liking!
STEP 5
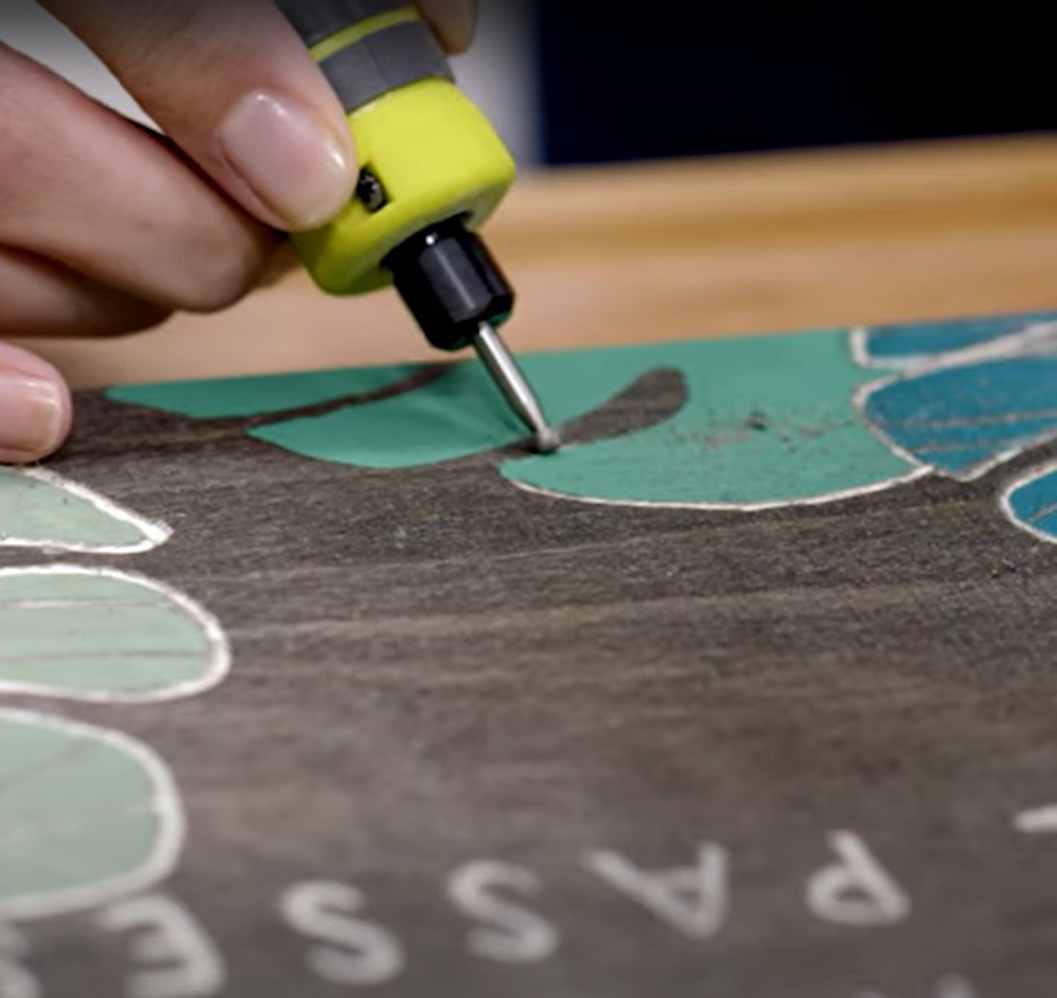
Use your rotary tool to carefully trace out the words on the wood as well as the outside of your design.
STEP 6
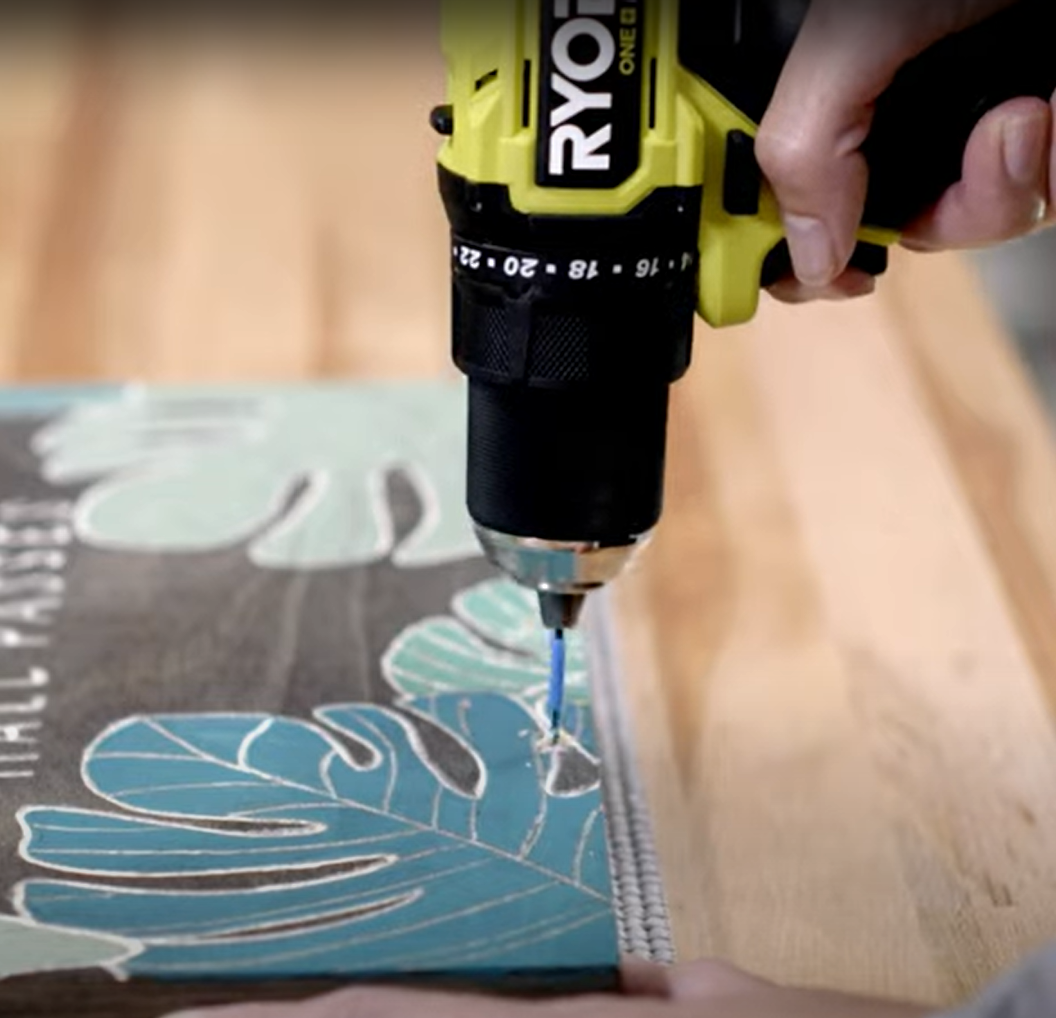
Find a drill bit that is slightly smaller than the screw hooks and using your drill, drill out where you will want the hooks placed.
STEP 7
Drill a small hole into the top of each of the rectangular pieces of wood for them to hang from.
STEP 8
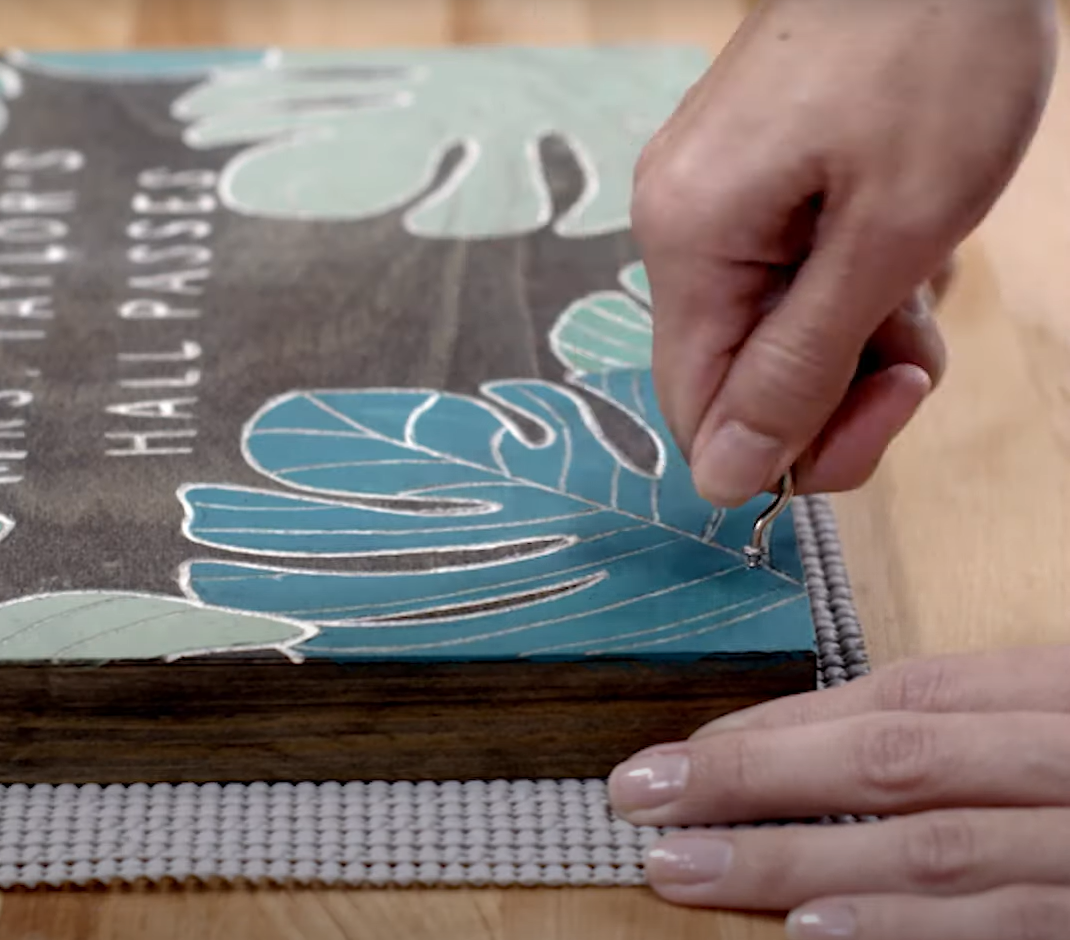
Screw in the screw hooks and place the rectangular pieces of wood on them.
STEP 9
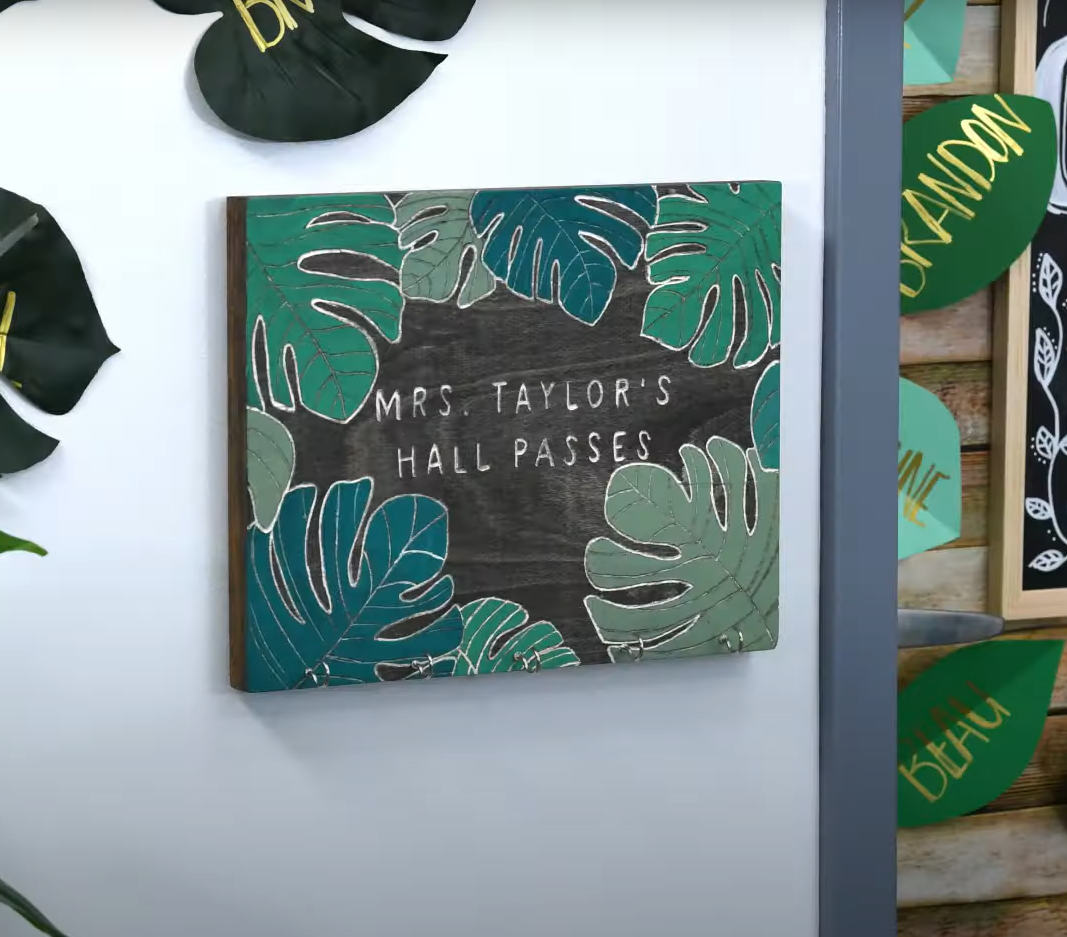
Hang wherever you like!
Dont forget to tag us in your DIY projects @ryobitoolsuk