With Halloween right around the corner we wanted to add to our spooky decor collection so we decided to make these lighted bats! They were easy to make, using only scrap plywood, some metal flashing and some battery operated LED lights meanwhile it also makes for a spooky way to decorate your home this halloween.
Tools used
18V ONE+™ Cordless Jigsaw
18V ONE+™ Cordless Compact Drill Driver
Materials used
A scrap piece of 1.9cm thick plywood
Steel Flashing
Battery Operated LED Lights
STEP 1

Using tin snips or good scissors, cut the flashing down to 5cm wide.
STEP 2
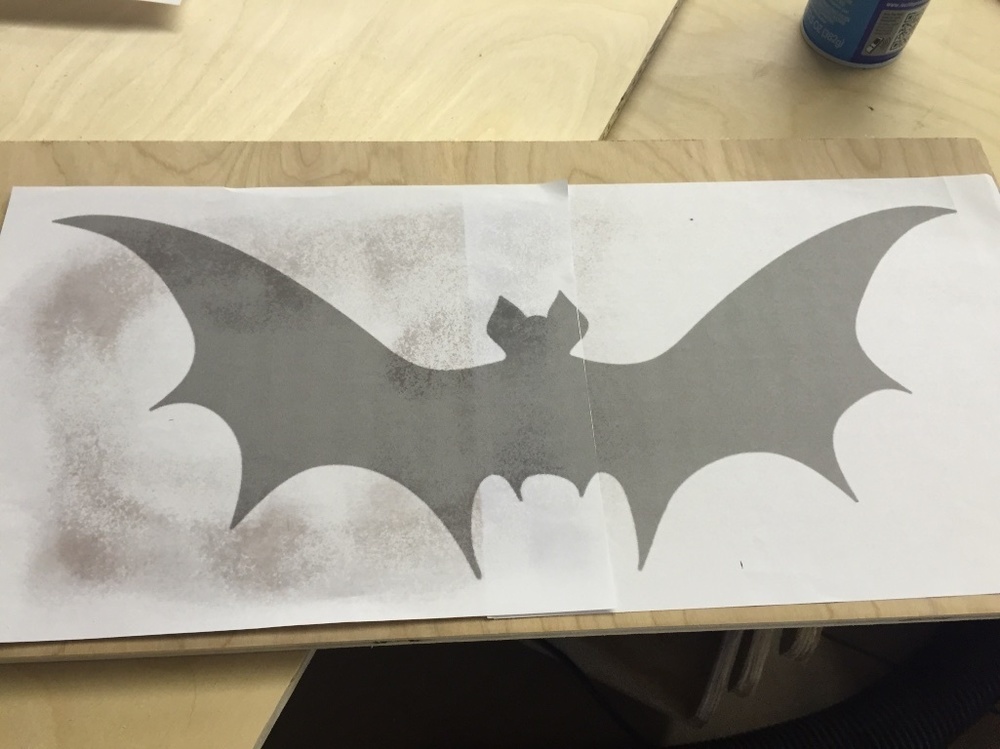
To get started, print out the bat template supplied in this blog (PDF below) and adhere it to the scrap plywood with spray adhesive. There are two different sized bat templates if you choose to do more than one.
STEP 3

Now cut out the bat using the 18V ONE+™ Cordless Jigsaw, a band saw, or a scroll saw.
STEP 4

After cutting, sand down some of the edges with some sandpaper.
STEP 5

Now mark and drill holes appropriately sized for your lights.
STEP 6
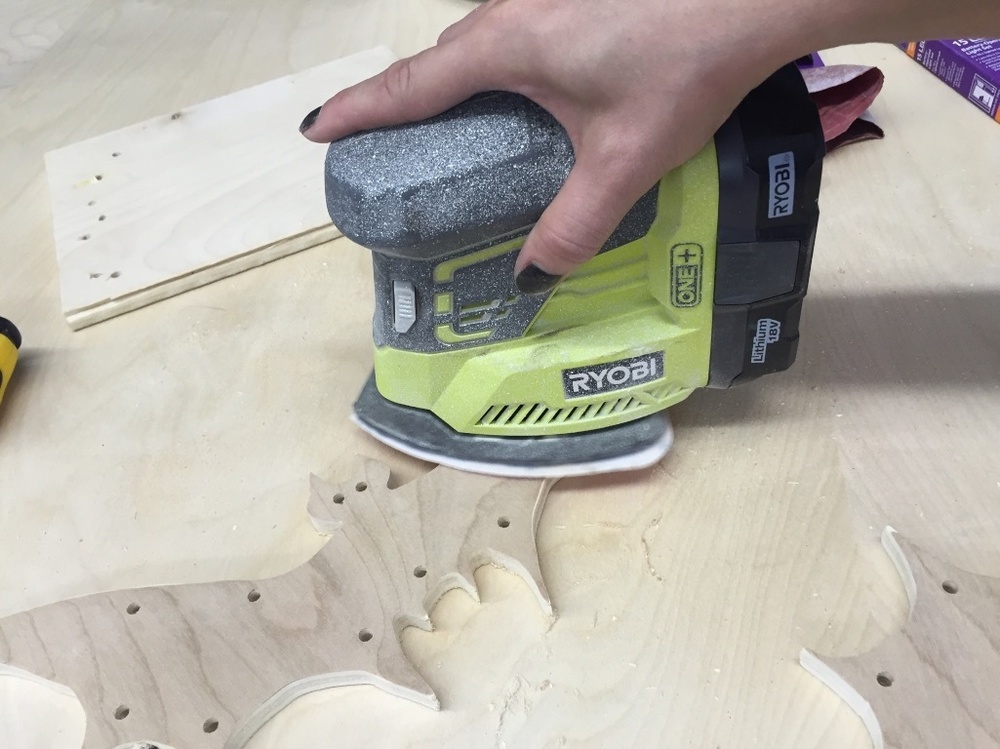
To prepare the surface for paint, give the board a good sanding with a fine grit sandpaper.
STEP 7
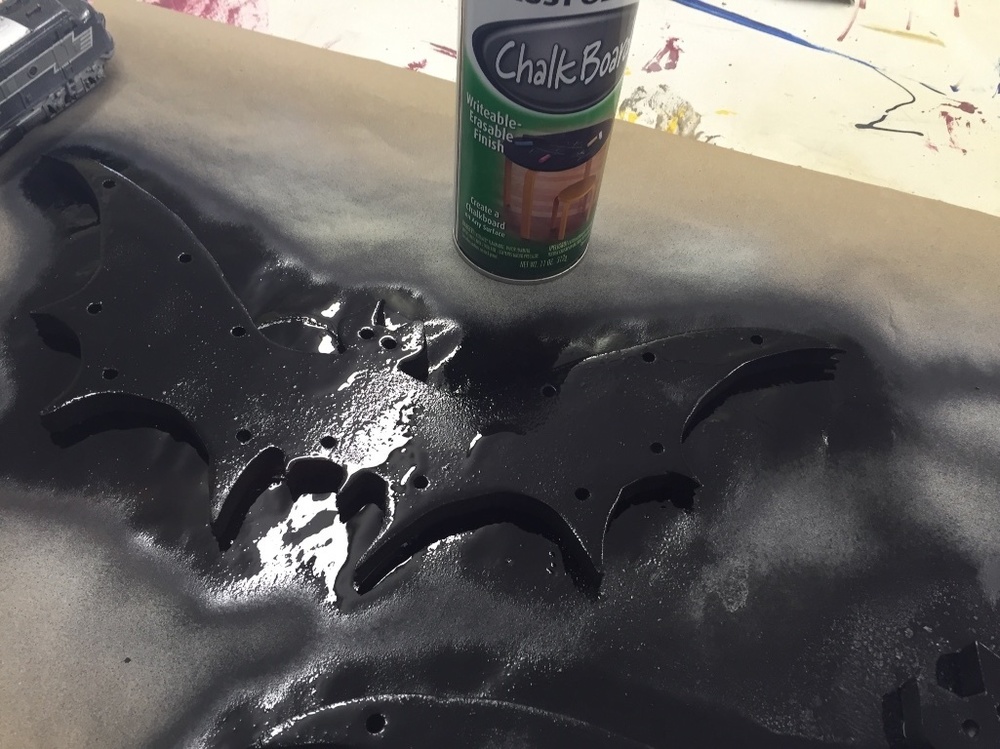
Paint your bat with black paint, we used chalkboard paint but any will do.
STEP 8
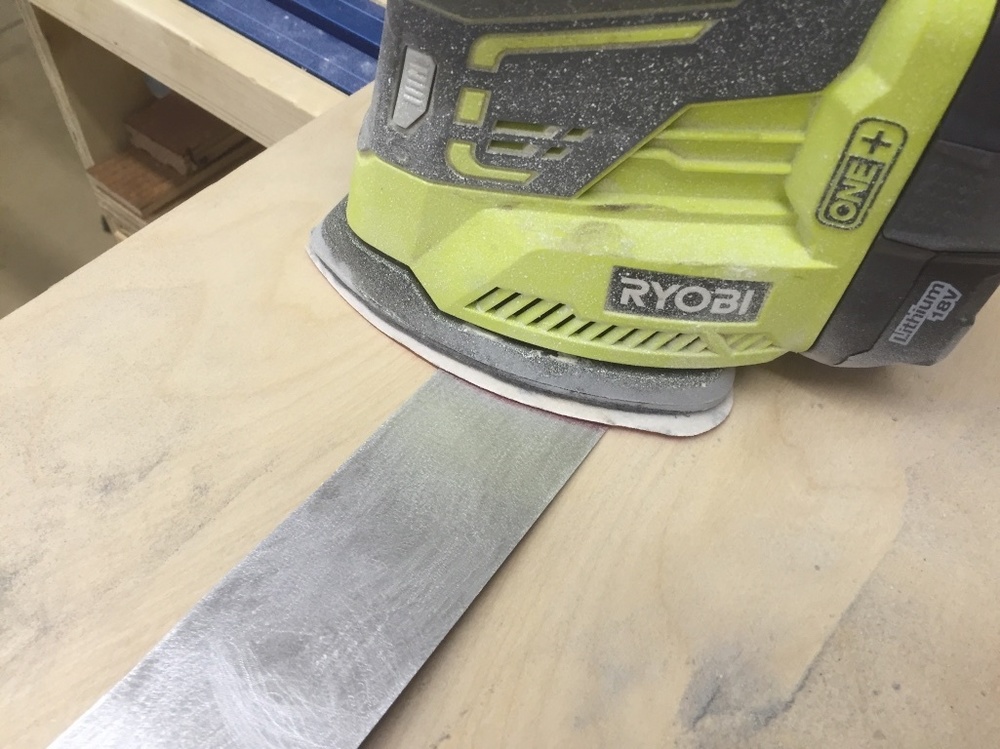
Give the flashing a good sanding with a fine grit sandpaper. Not only does this dull the sharp edges but it also dulls the entire finish.
STEP 9

Now you can start stapling the flashing to the edge of the bat using a heavy duty staple gun.
STEP 10

To get a good sharp corner you can crimp the flashing with a pair of pliers.
STEP 11

Now press your lights in place. If you need to add glue then do so now.
STEP 12

Glue the battery pack to the back of the plywood.
STEP 13

Make sure to staple all the extra wiring behind the plywood so that it is not exposed.
Don't forget to tag us in your DIY projects on @ryobitoolsuk
Blog post courtesy of: Rouge engineer