With Halloween around the corner, it is time to start making use of the spare wood from your previous DIY projects. This Wooden Block Pumpkin will add the perfect not-so-spooky touch to your Halloween-inspired decorations. This DIY is the perfect last minute decoration both quick and easy so you can get back to enjoying those scary movies.
Tools used
18V Cordless Random Orbital Sander
18V Cordless Compact Glue Gun
18V Cordless HP Brushless Drill/Driver
18V Cordless 190mm Compound Sliding Mitre Saw
Materials used
(1) 2 X 4 of wood
28mm Auger bit
STEP 1

Cut your 2x4 of wood to make 5 individual blocks with two 15.2cm pieces, two 17.8cm pieces, and one 20.3cm piece.
STEP 2

Drill a 6.5mm hole into the top of one of the blocks using your 28mm Auger bit.
STEP 3

Sand down each piece of wood.
STEP 4

Glue all 5 pieces together using wood glue and your glue gun. Once completed, clamp together and let it dry.
STEP 5
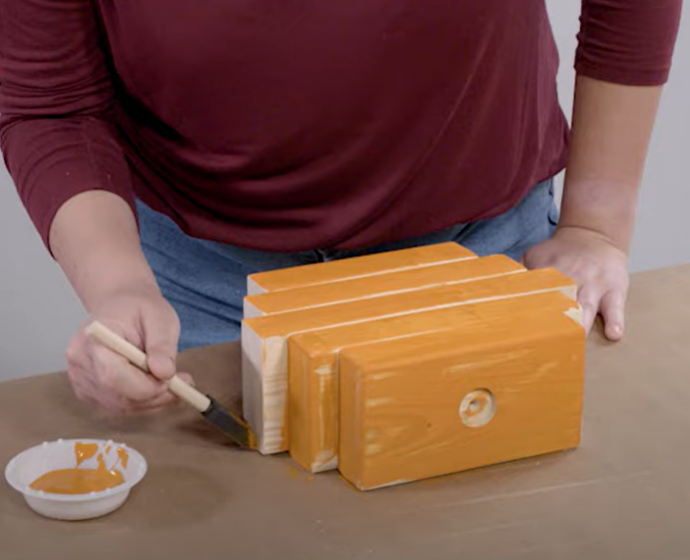
Paint your pumpkin then sand down for a rustic look.

Fa-boo-lous!
Don't forget to tag us in your DIY projects on @ryobitoolsuk