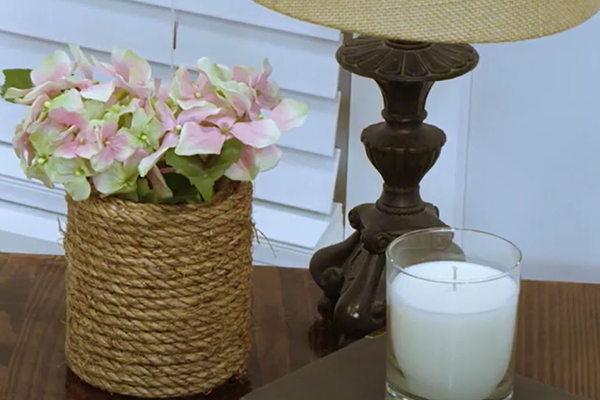
Searching for an easy, inexpensive craft to keep you buys this autumn? Look no further than this Twine Flower Can! With just a glue gun and a few easy to find supplies you'll have this one finished in no time.
Simply add your favourite florals or greenery and set on your end table. Works great as a pencil cup on your desk, too!
Tools Used
18V ONE+™ Cordless Mini Glue Gun
Materials Used
6.4mm X 9.1M Twine or Rope
6.4mm X 7.6M Twin or Rope
2 x Empty Paint or Tin Can
Twine or Rope (6.4mm X 7.6M)
Glue Sticks
Gloves
Scissors
STEP 1
Start by putting on gloves to protect from hot glue. Place glue stick inside glue gun and let heat up
Please note, the dimensions of materials listed above are based on what we used while making this project, but feel free to use any size can or style of twine you'd like!
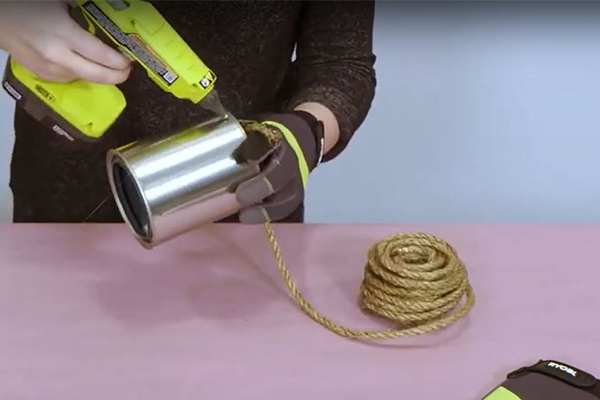
STEP 2
Next, put a line of glue around the bottom of the can. Take one end of the strand of twine and set into the glue. Use gloved hand to hold twine in place to dry, and ensure the strand is in line with the bottom of the can.
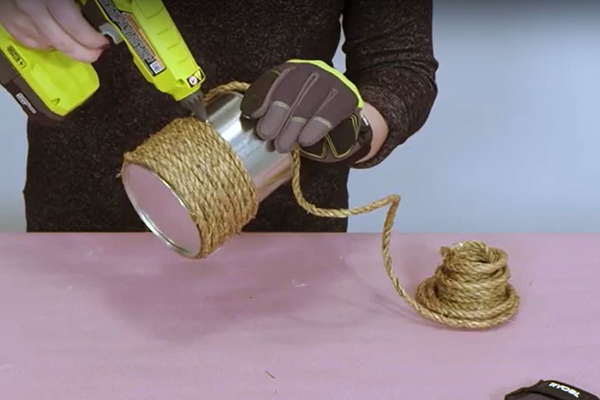
STEP 3
Rotate can and add more glue in line with the current strand. Place twine into the glue and hold to dry.
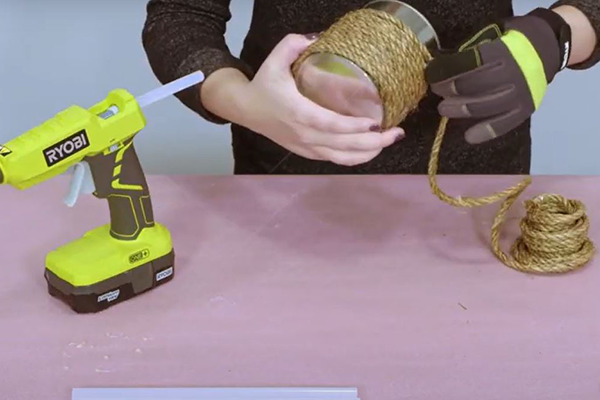
STEP 4
Repeat process and continue to glue and wrap twine up the can. After each time gluing, press twine downwards to close any gaps between strands.
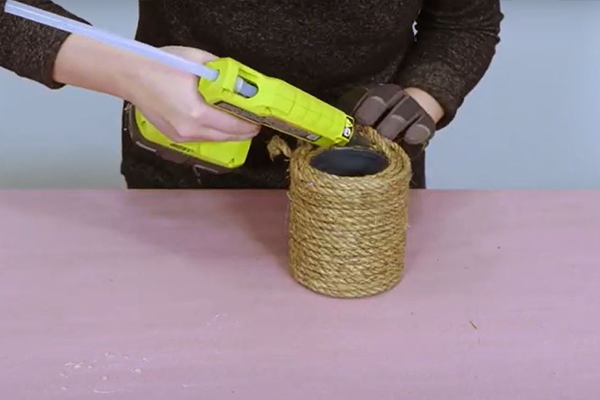
STEP 5
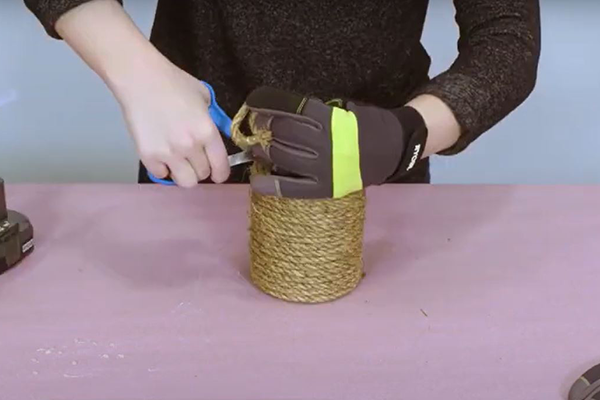
Glue and wrap until reaching the top of the can. When entire can has been covered, cut remaining twine with scissors.
STEP 6
Let remaining glue dry for 10 minutes before handling without gloves. Decorate how you wish!
Don't forget to tag us in your DIY projects on @ryobitoolsuk