Building your own DIY solutions for small space living has never been easier. Create a simple, yet practical coat hanging for your home in just a few easy steps. Download the free PDF plans for the full list of materials and tools needed to create your very own coat rack.
TOOLS USED
18V ONE+™ Cordless 18 Gauge Nailer
18V ONE+™ Cordless Random Orbit Sander
18V ONE+™ Cordless Compact Drill Driver
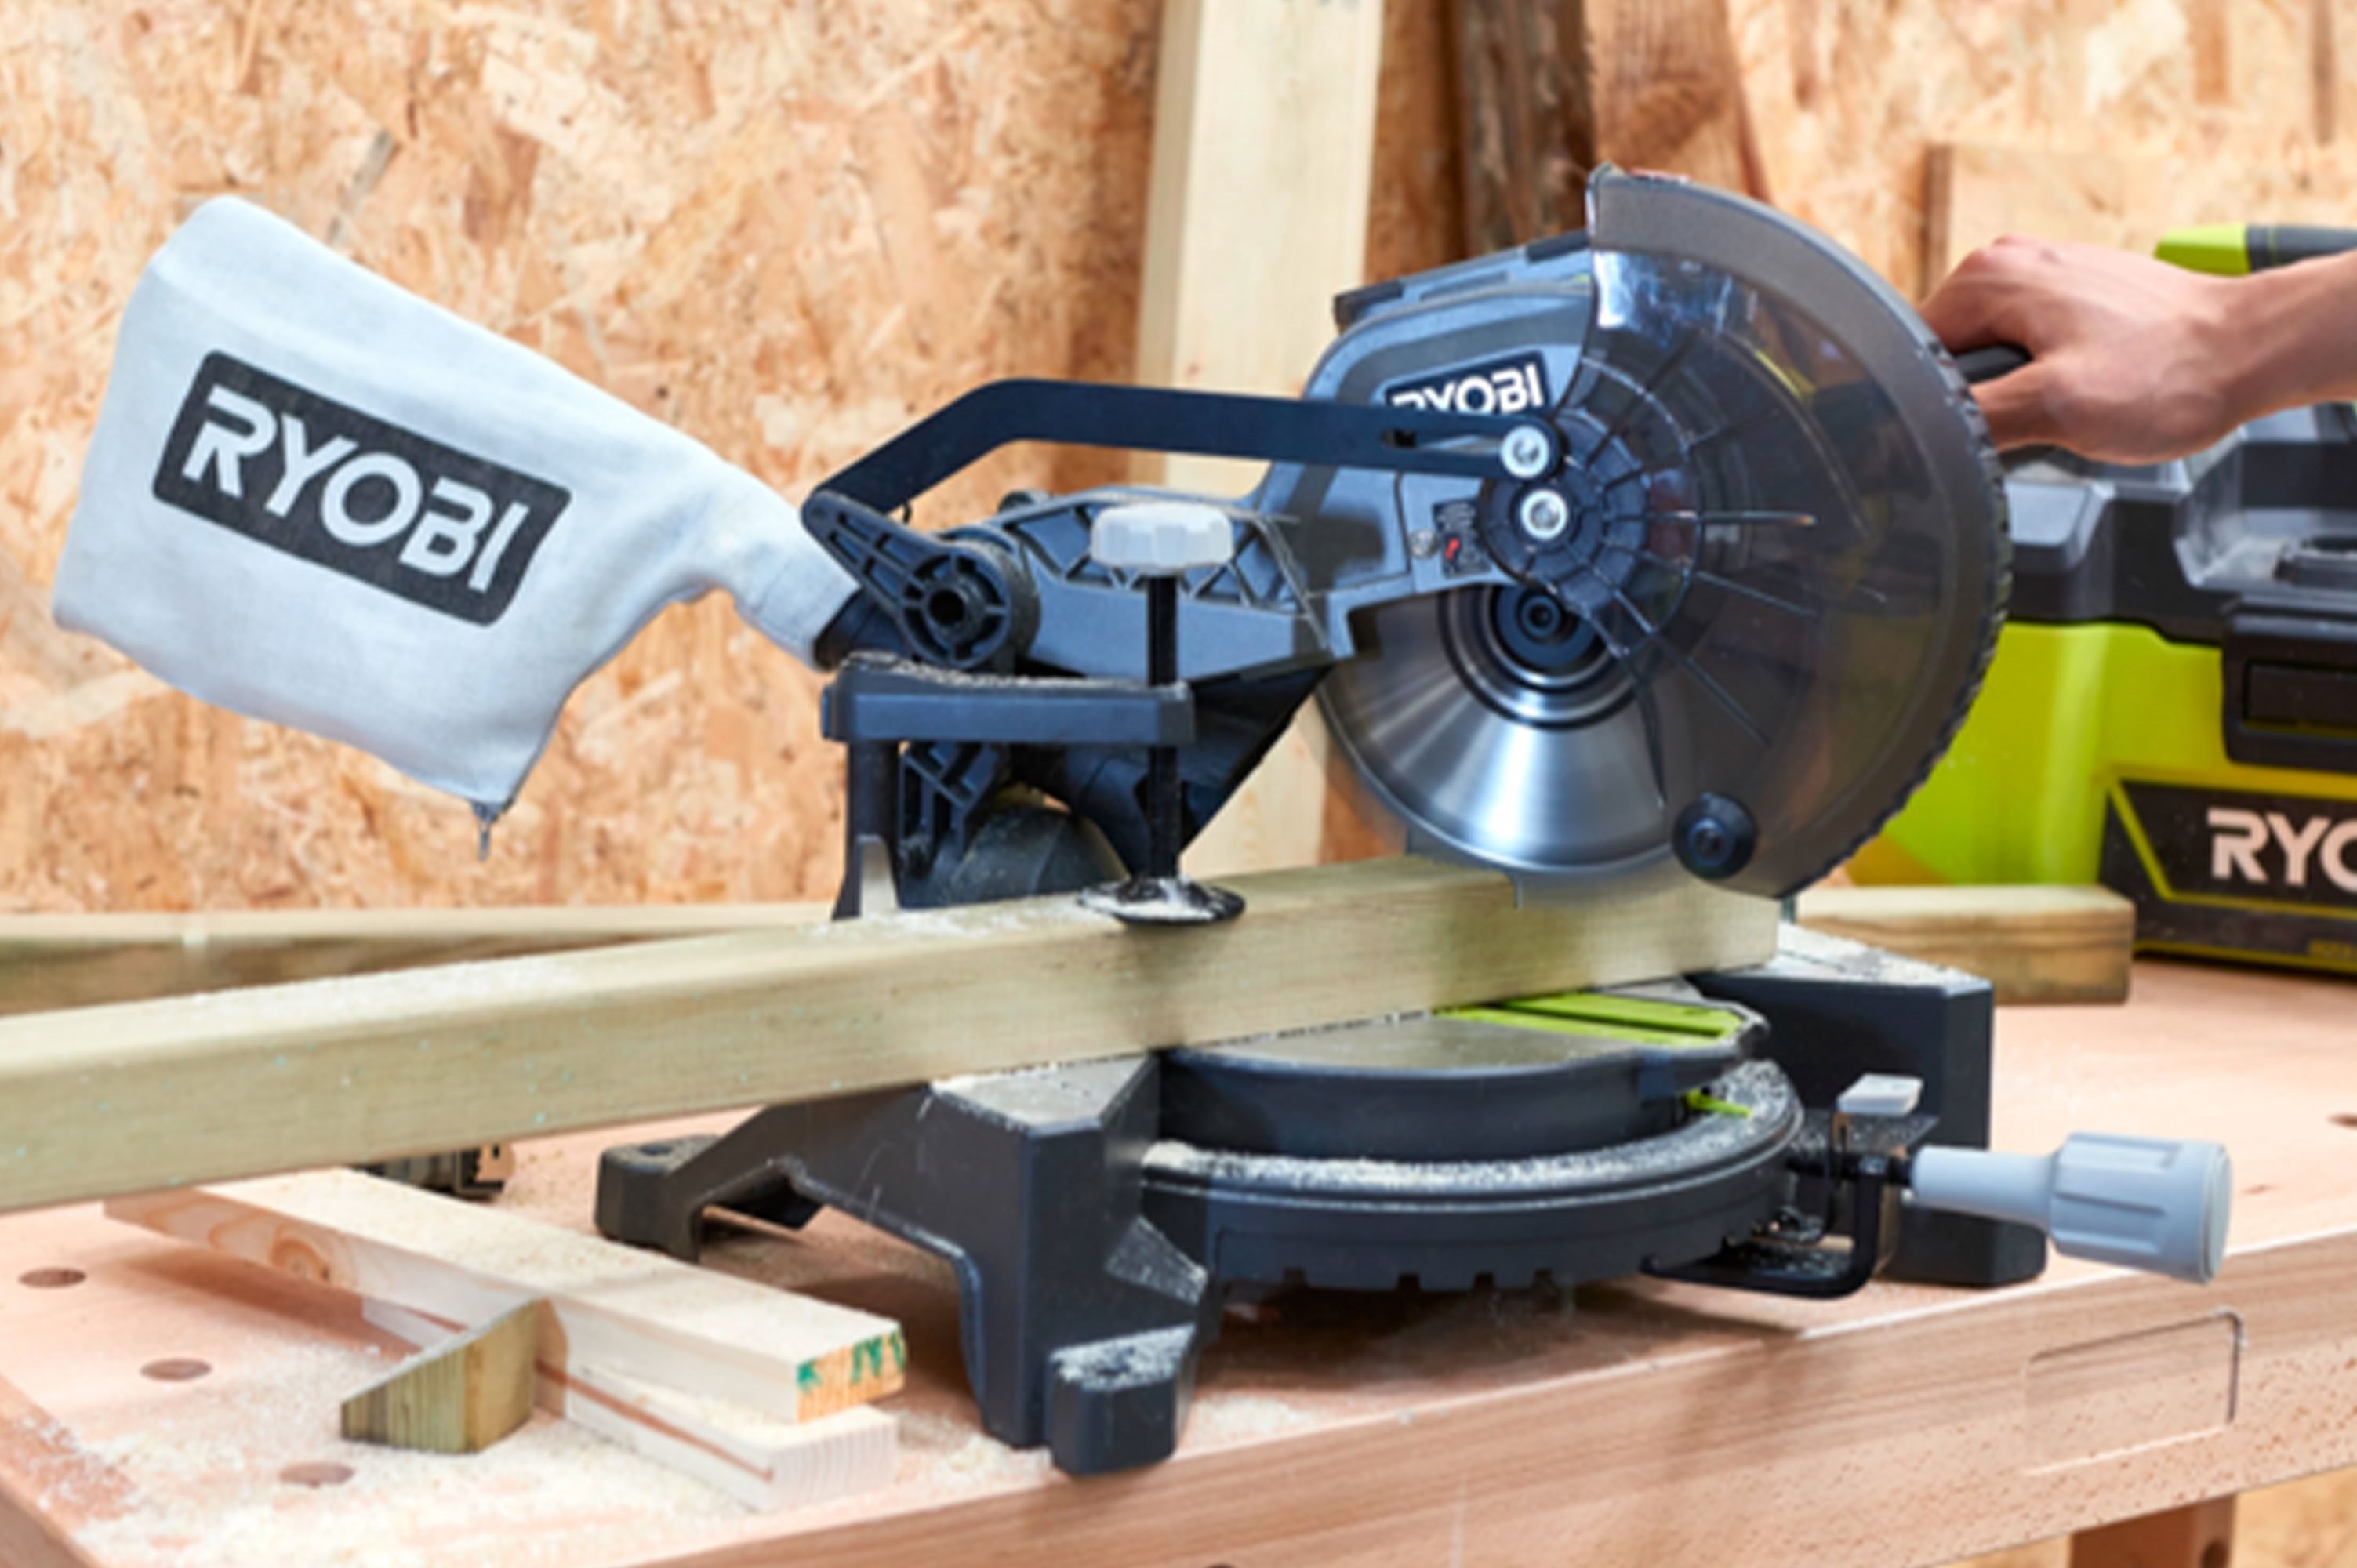
18V ONE+™ Cordless Mitre Saw
MATERIALS USED
30cm X 25cm X 15cm piece of wood
30cm X 13cm X 15cm piece of wood
30cm X 5cm X 15cm piece of wood
Coat hangers
Picture hangers
STEP 1
Cut your 30cm x 25cm board into a 61cm long supporting piece for your coat rack.
STEP 2
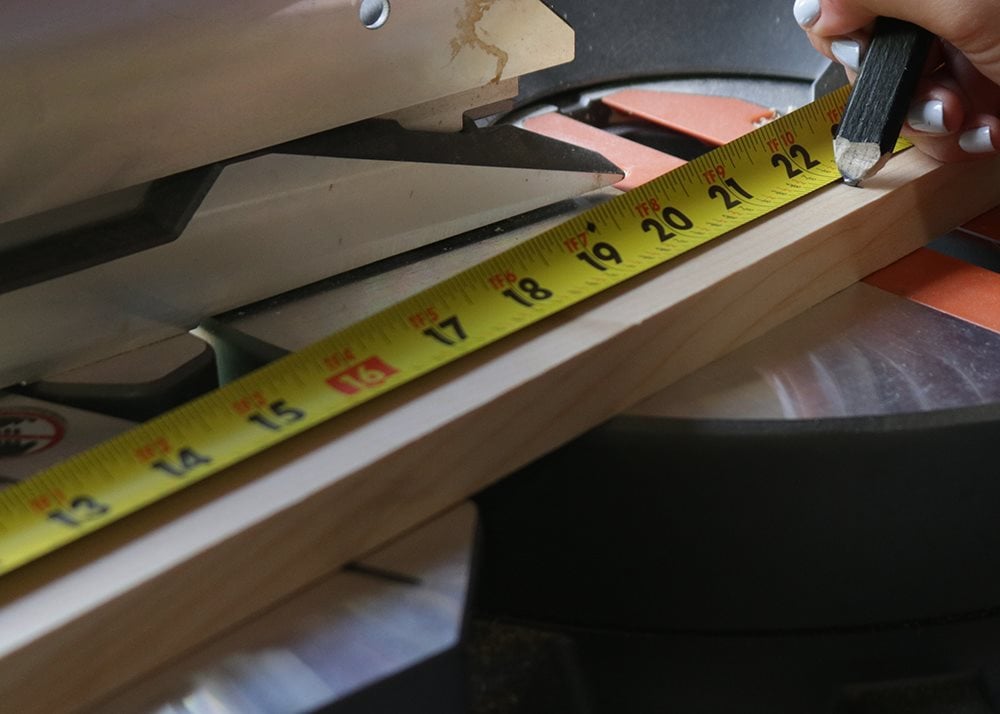
Cut your 30cm x 5cm board into a 53cm long support board.
STEP 3
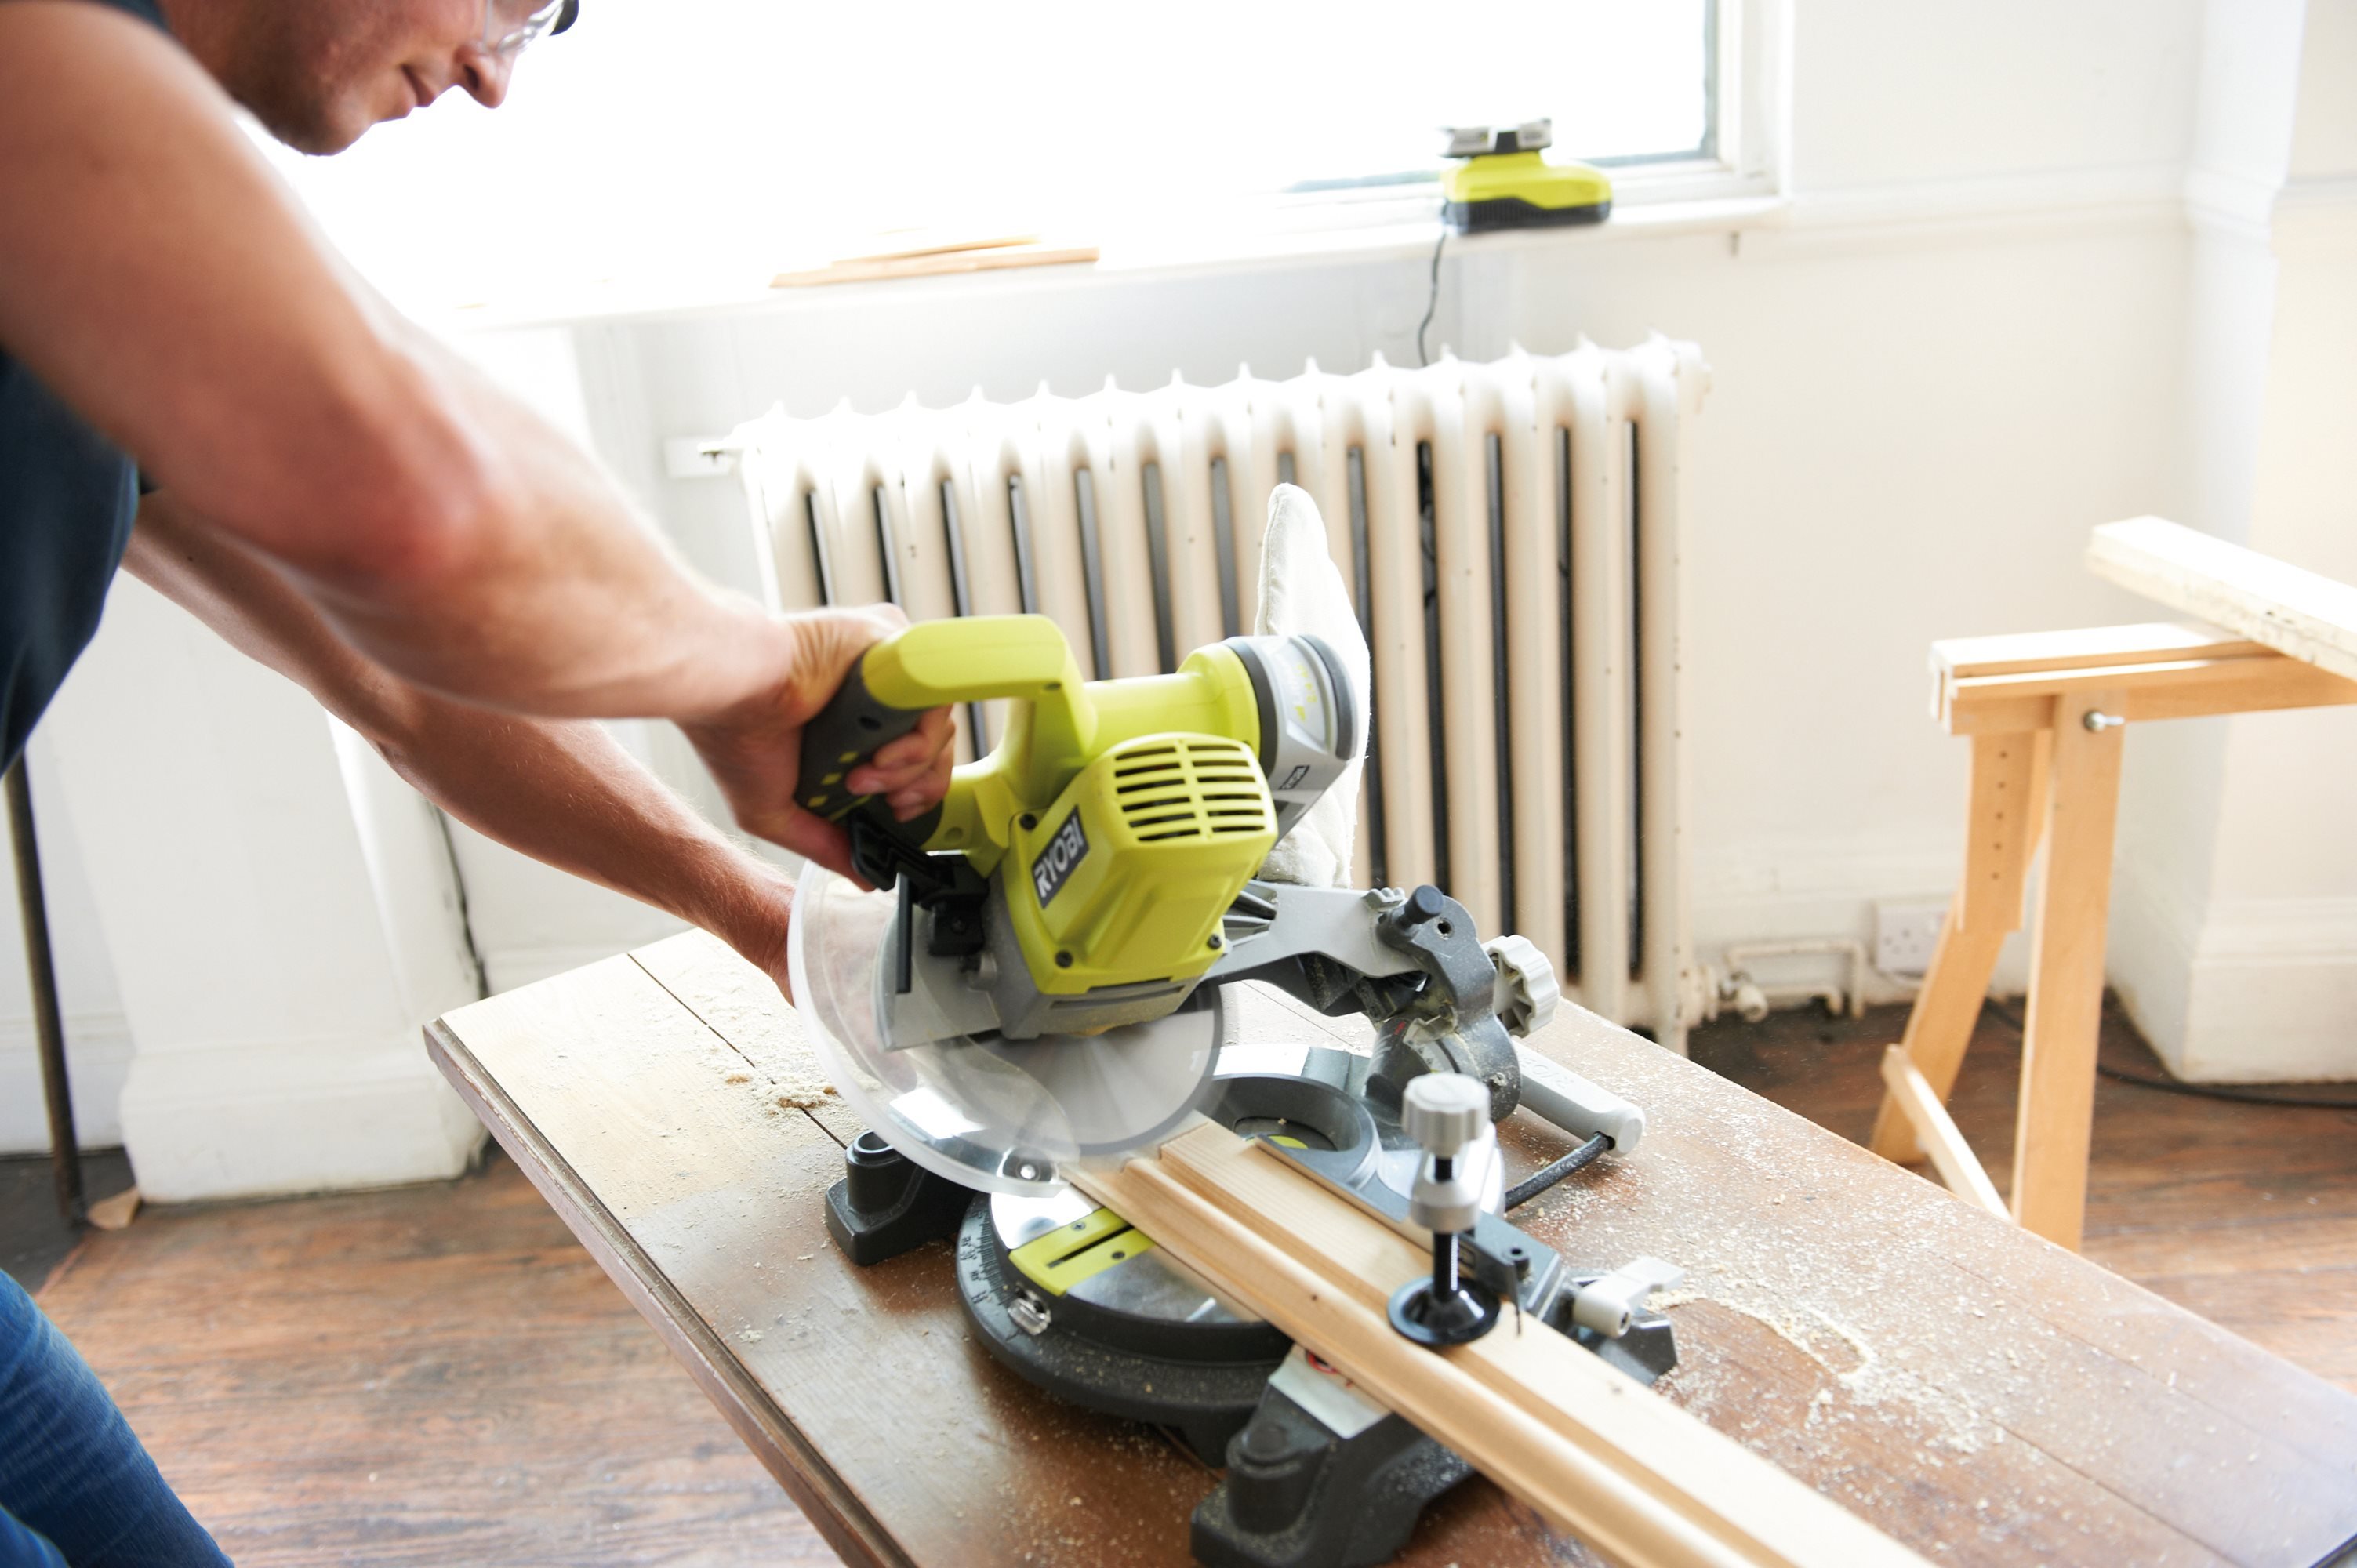
Cut your 30cm x 13cm board into a 53cm long front panel.
STEP 4
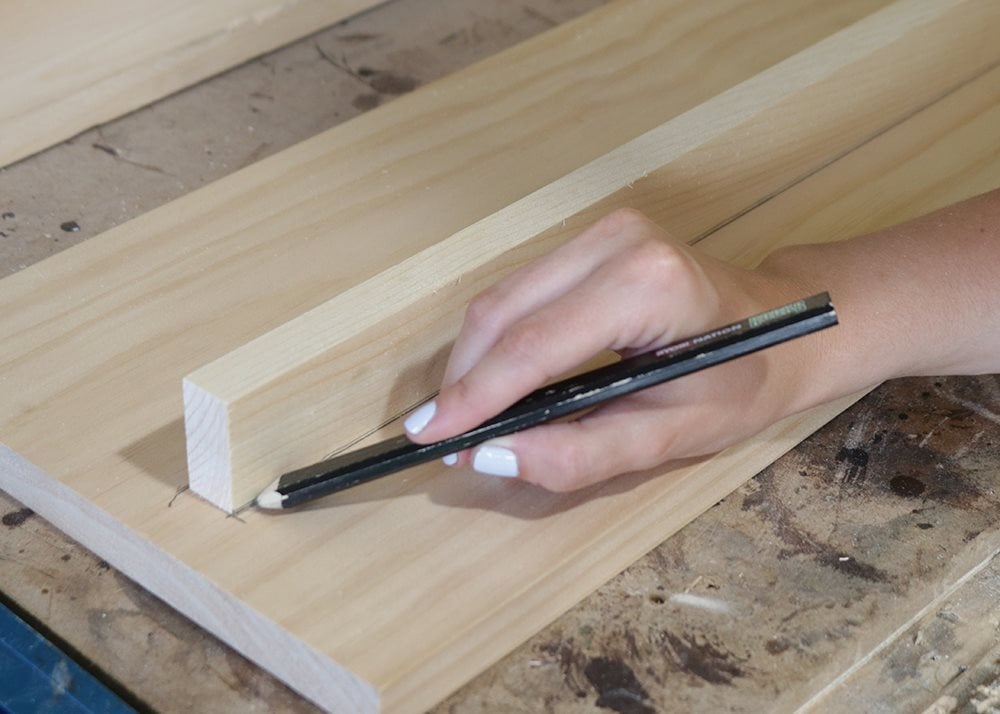
Use your 30cm x 5cm support board to mark the location of your shelf. This piece will be added 15cm from the top of the board.
STEP 5
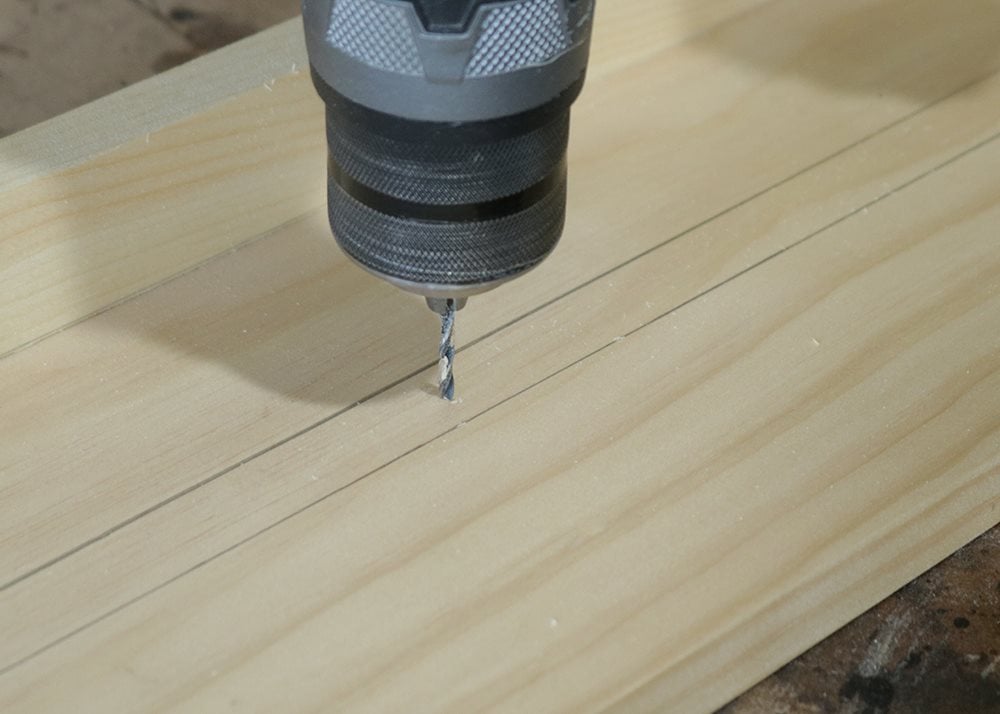
Pre-drill pilot holes into your back board. This will help with attaching the support beam without splitting the wood.
STEP 6
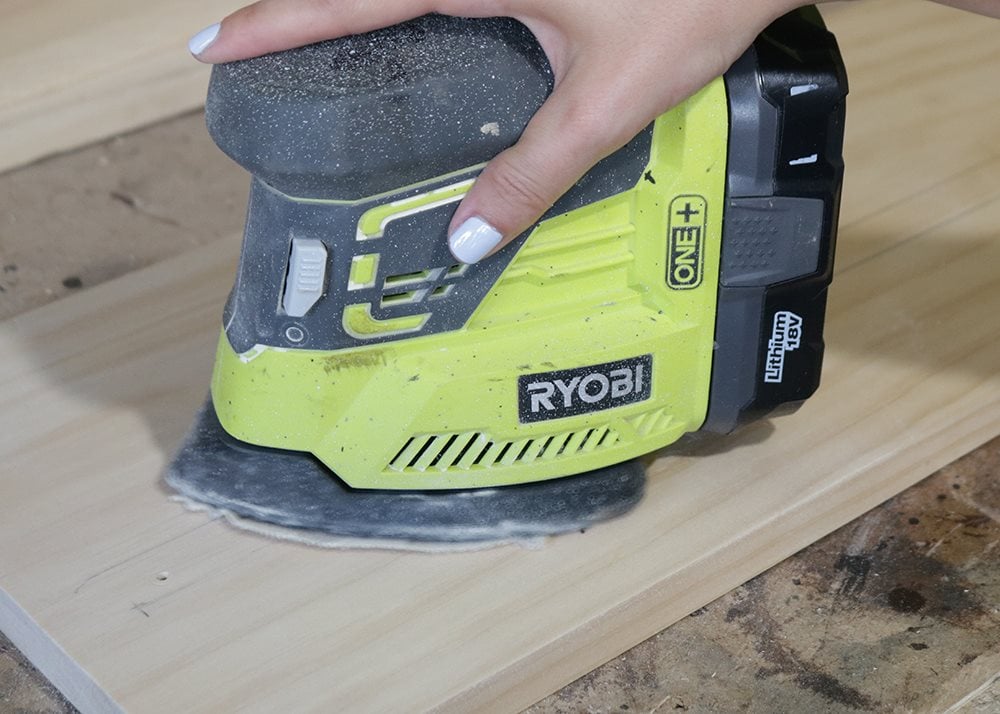
Optional: Sand & stain all of your pieces prior to attaching them together. You can also do this step last.
STEP 7
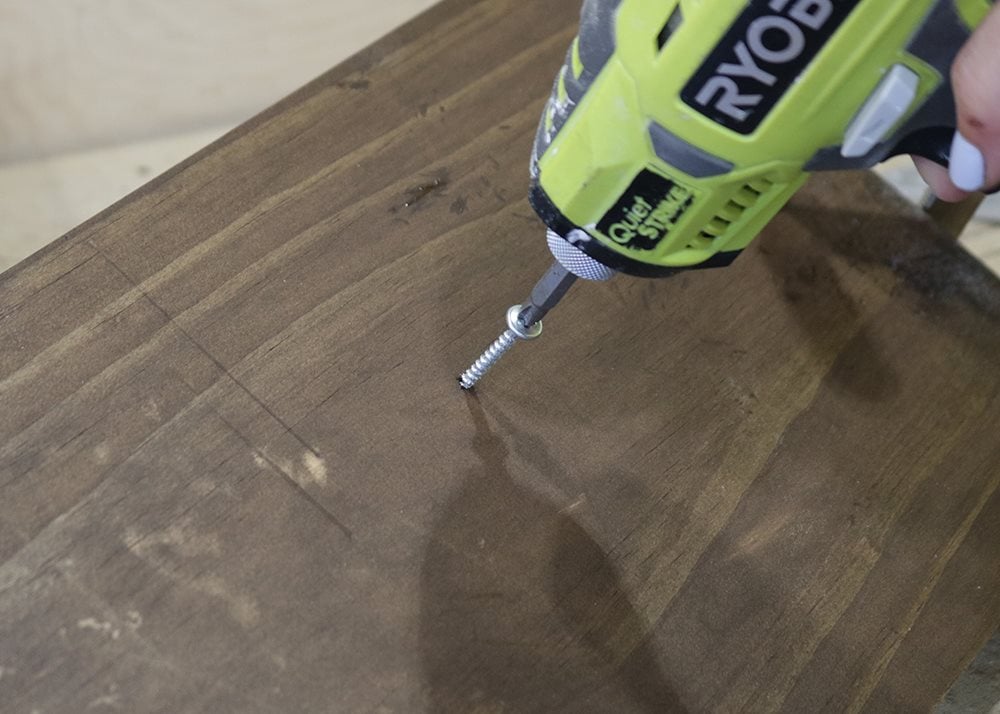
Attach your support beam to the coat rack back board by screwing a 6.5mm wood screw into the back of the piece. Add wood glue to the front for a stronger bond.
STEP 8
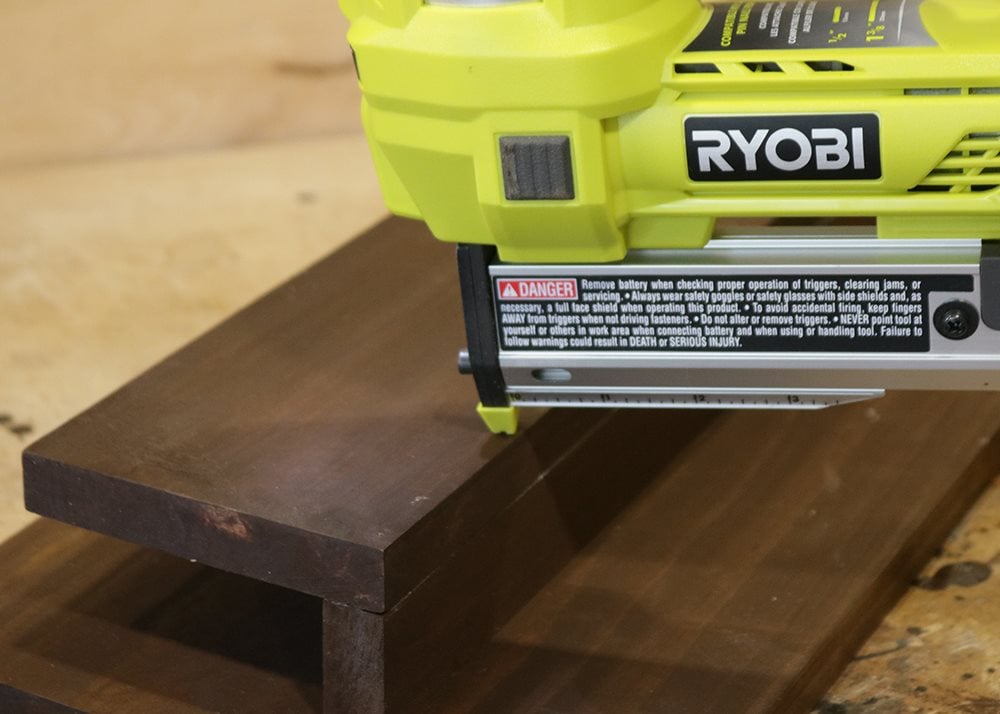
Nail & glue the front panel to your support board.
STEP 9
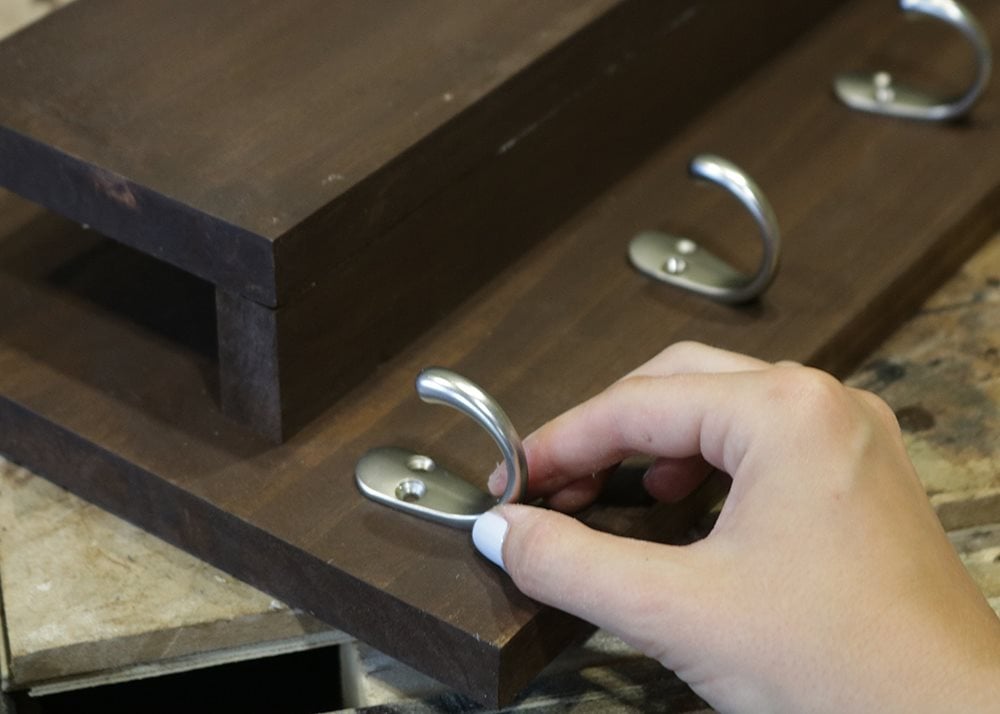
Add coat hooks to the empty space below the mail shelf.
STEP 10
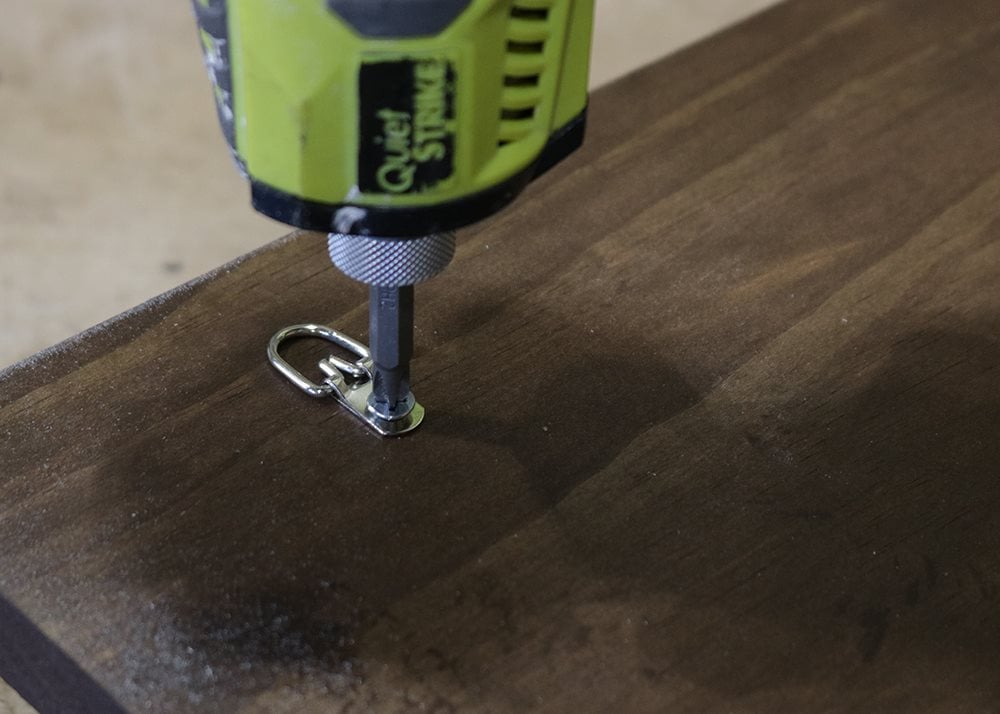
Attach hooks to the back of the coat rack for hanging.
STEP 11
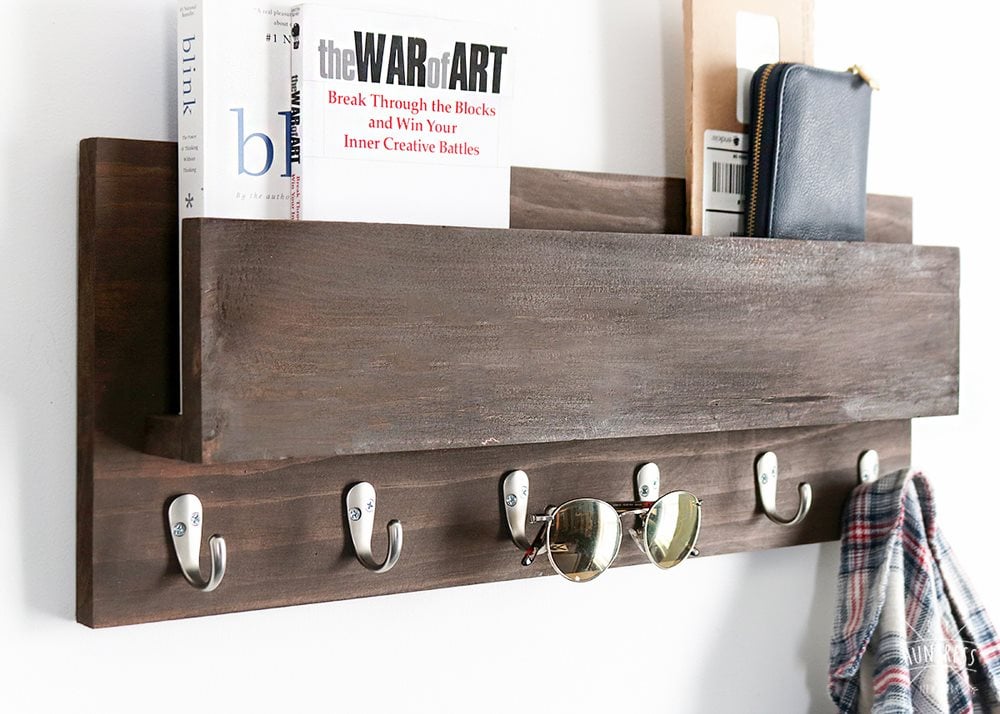
Hang your coat rack on the wall!
Don't forget to tag us in your DIY projects on @ryobitoolsuk