This DIY project is super quick and easy! Perfect for that last minute valentines gift!
For this project you will need:

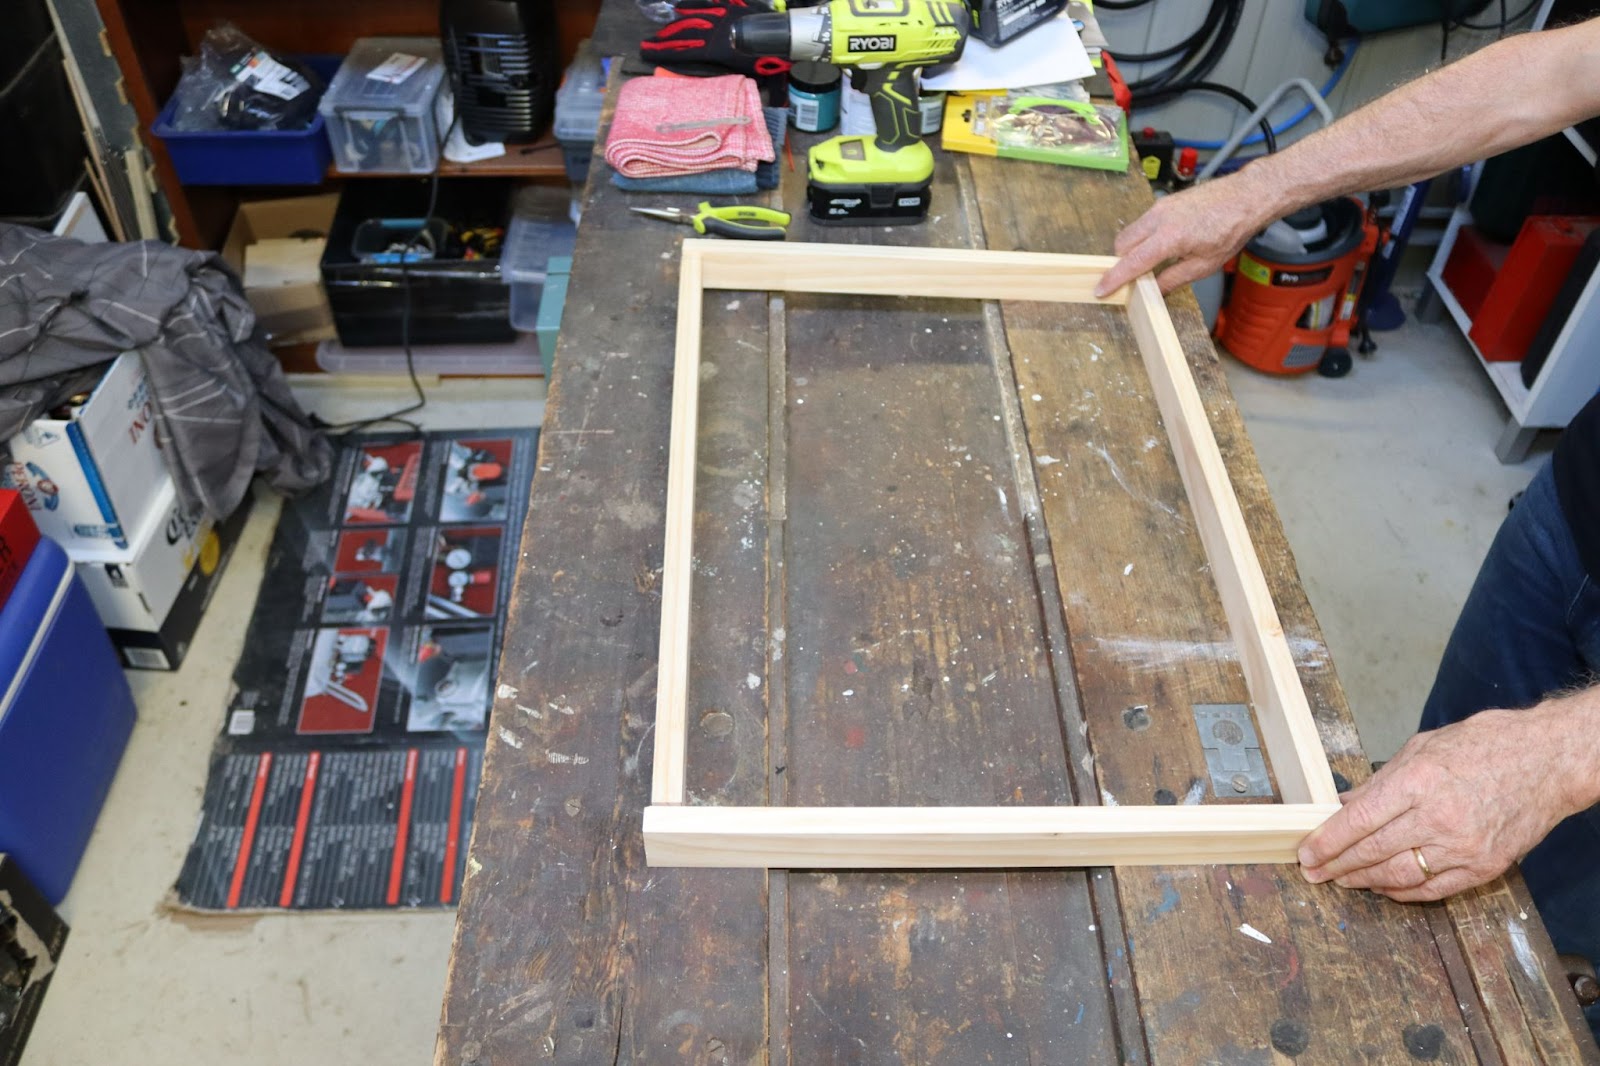
Step 1 - Start with lining up the timber and make sure you are happy with the size the frame will be.
* Top Tip- If you want to paint the timber, do it before you move to the next step.*
Step 2 - Use the Nail Gun and nail two nails into each corner so that the timber joins to create a frame.

Step 3 - Decide how steep you want your wire to be inside the frame. We did:
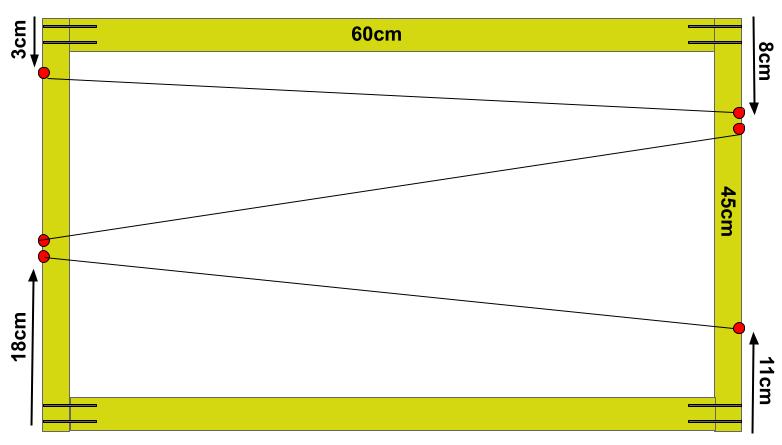
Step 4 - Drill thin holes and don't forget to do two for the middle crossovers to thread your wire/string back.

Step 5 - Thread through your wire/string.

Step 6 - Tie a knot at one end of the wire/string and pull the knot into the hole. For thinner wire/string you may have to do a few knots, and cut off excess.

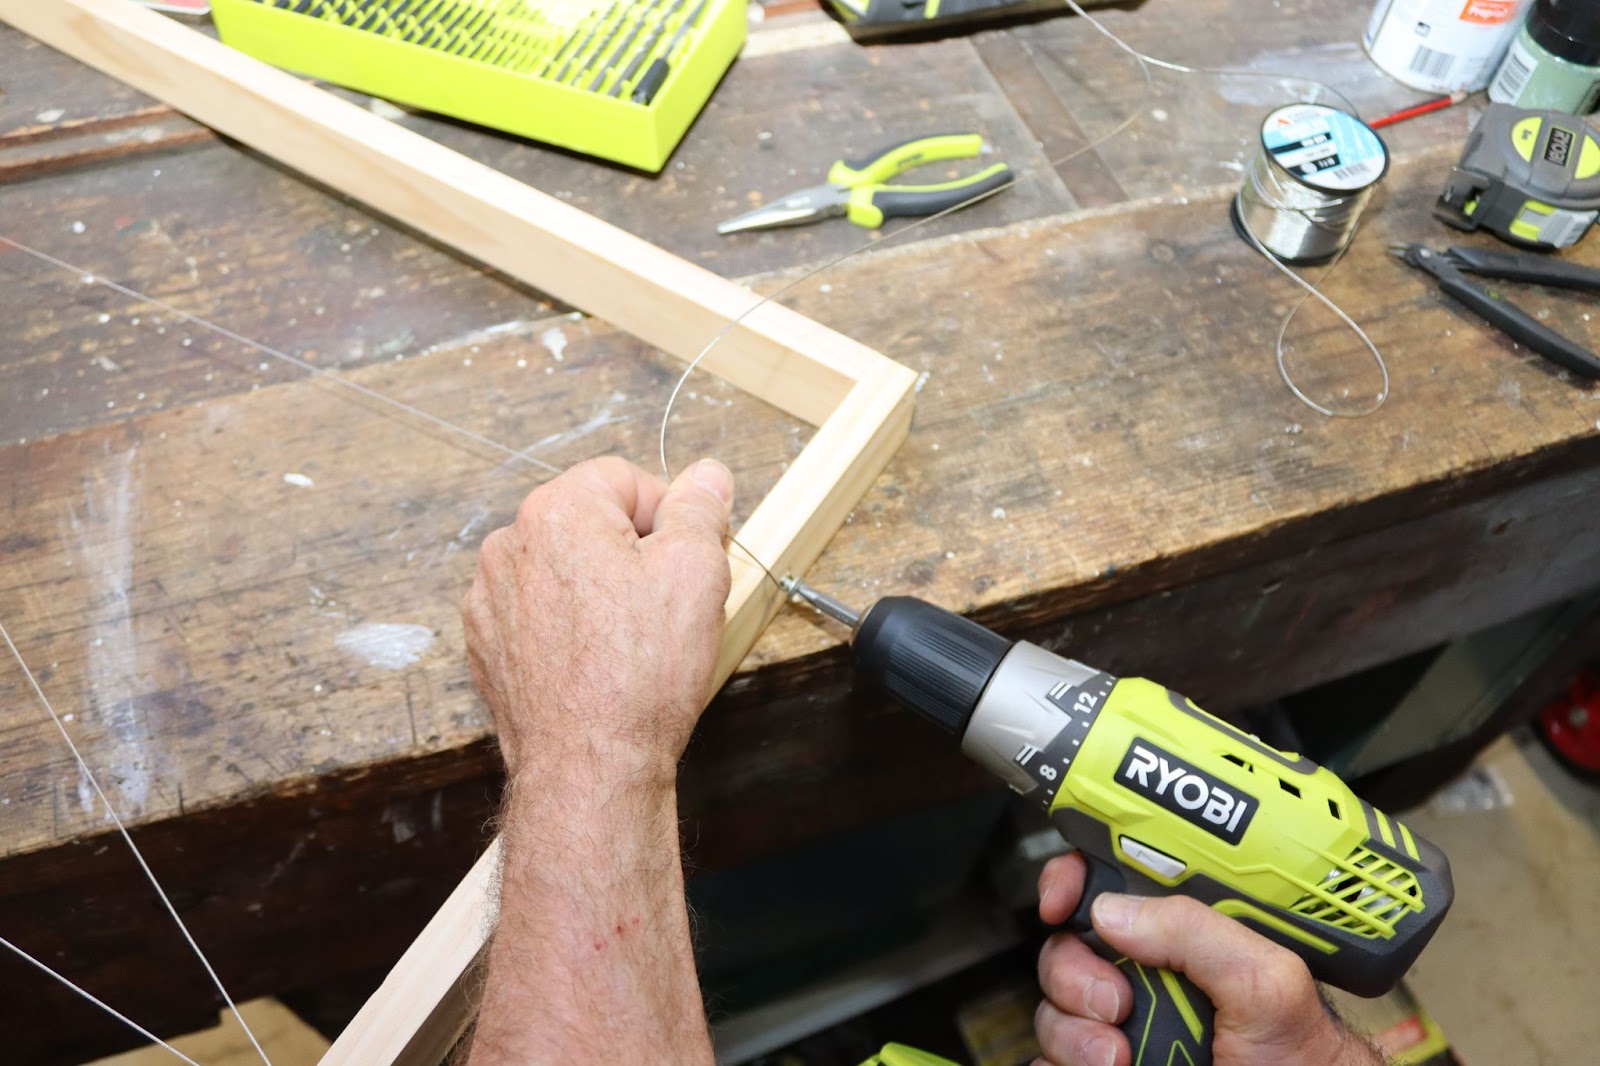
Step 7 - Pull the wire/string and make sure it's tight. Take a screw and wrap the end of the wire around and drill it back into the hole. This should then lock it in place. Cut off the excess wire/string.
And you are done! You can add photos, cards or small gifts to create your own personal valentines present.

Create and Tag us @ryobitoolsuk