Stop overspending on mini christmas Trees this Christmas. Make your own with a couple of RYOBI Tools and a £1.00 toilet brush!
Tools used
18V ONE+ 5 IN. RANDOM ORBIT SANDER
18V ONE+ HP CORDLESS BRUSHLESS DRILL DRIVER
18V ONE+ COMPACT GLUE GUN
18V ONE+ HP BRUSHLESS JIG SAW
Materials used
Safety Glasses
Pencil
Toilet Brush
2.5cm X 7.6cm Board
Spray Paint
Clamps
Speed Square
Scissors
Wire Cutters
STEP 1
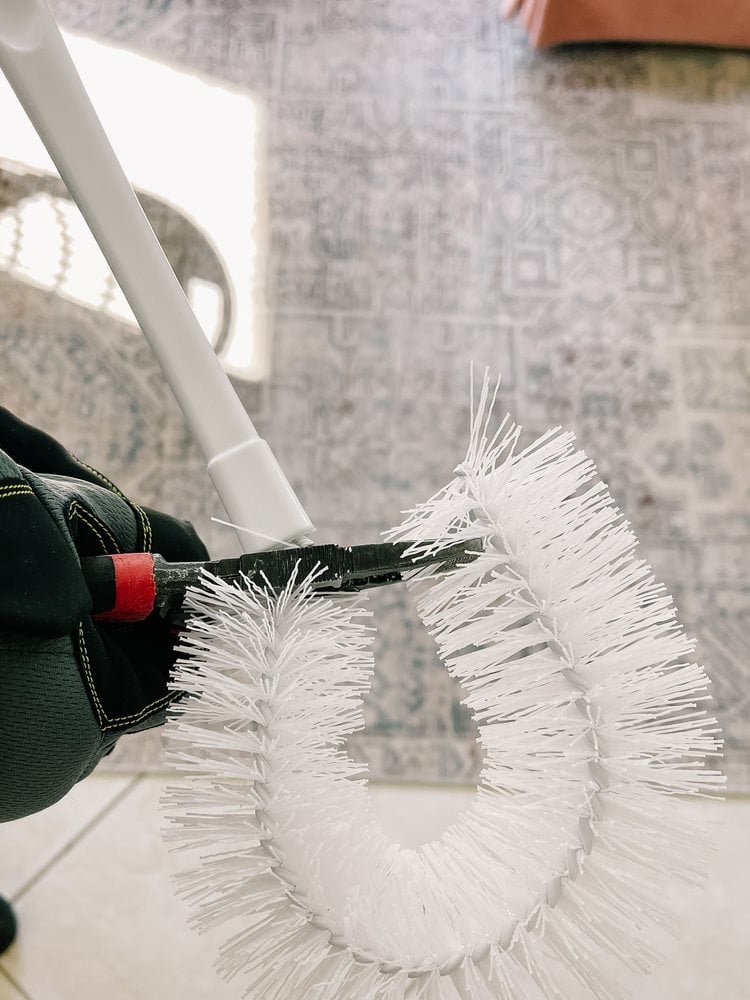
Purchase a wire toilet brush and use wire cutters to cut the brush. The handle is no longer needed.
STEP 2

Straighten the wire brush. Cut the brush into shorter lengths - a tall and a short piece.
STEP 3
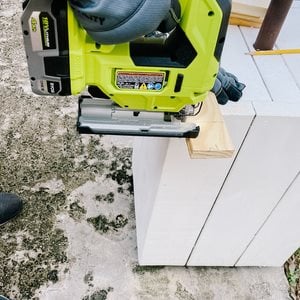
Next, cut the 2.5cm x 7.6cm board with a saw to get square pieces in the measurement of 6.4cm x 6.4cm. For the base, find the center of the board by drawing with a speed square from one corner to another. Then, drill a hole in the base 3/4 of the way through. Add tape to the end of the drill bit so you can easily know how far down to drill.
STEP 4
Sand down the base. Make sure your brush wires are straight.
STEP 5
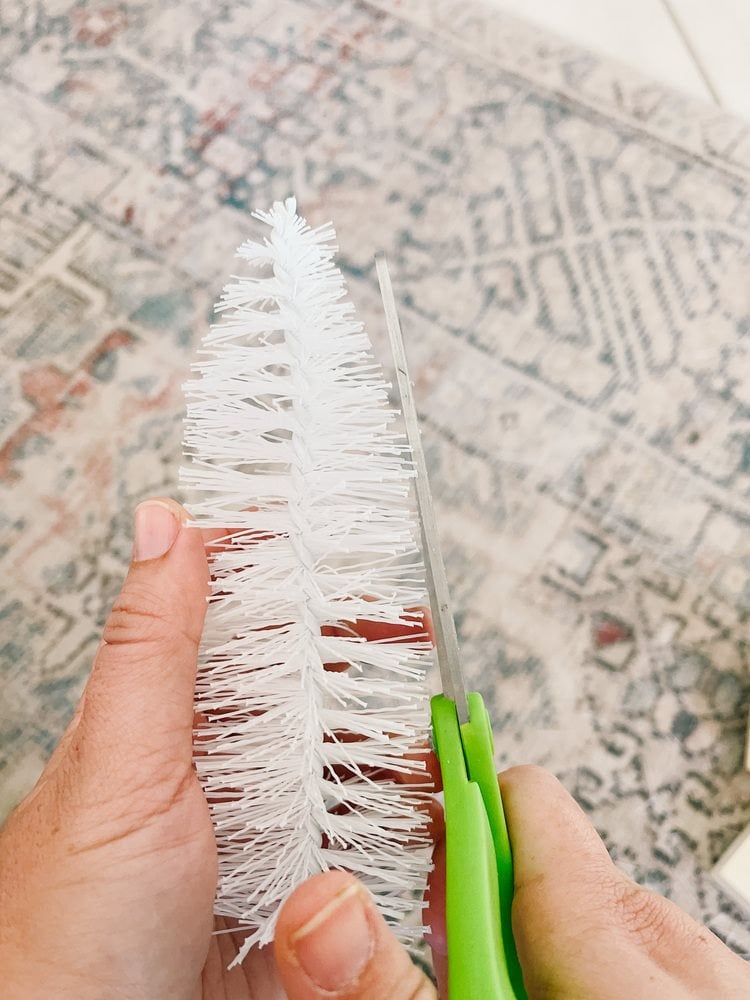
Next, use scissors to trim into the shape of a tree. We started at the top by cutting the top brush pretty much to the wire. We cut the brush on an angle from the middle to the top. Add hot glue to the base.
STEP 6

Spray paint the color of your choice. Let them dry and add a second coat of spray paint.
ENJOY!
Don't forget to tag us in your DIY projects on @ryobitoolsuk