Add some fun to your mantle this Christmas season with a cartoon inspired cut out to make the kids happy this Christmas. Why not personalise them with names as well!
Tools Used
18V ONE+™ Cordless Stapler
18V ONE+™ Cordless 165mm Circular Saw
18V ONE+™ Cordless Random Orbit Sander
18V ONE+™ Cordless High Low Glue Gun
18V ONE+™ Cordless Toolshop Blower
18V ONE+™ Cordless Brushless Jigsaw
18V ONE+™ HP Cordless Brushless Performance Drill
Materials Used
Plywood
Staples
Clamps
Paint & Paint Brush
Hat
Scarf
Scissors
Pencil
STEP 1 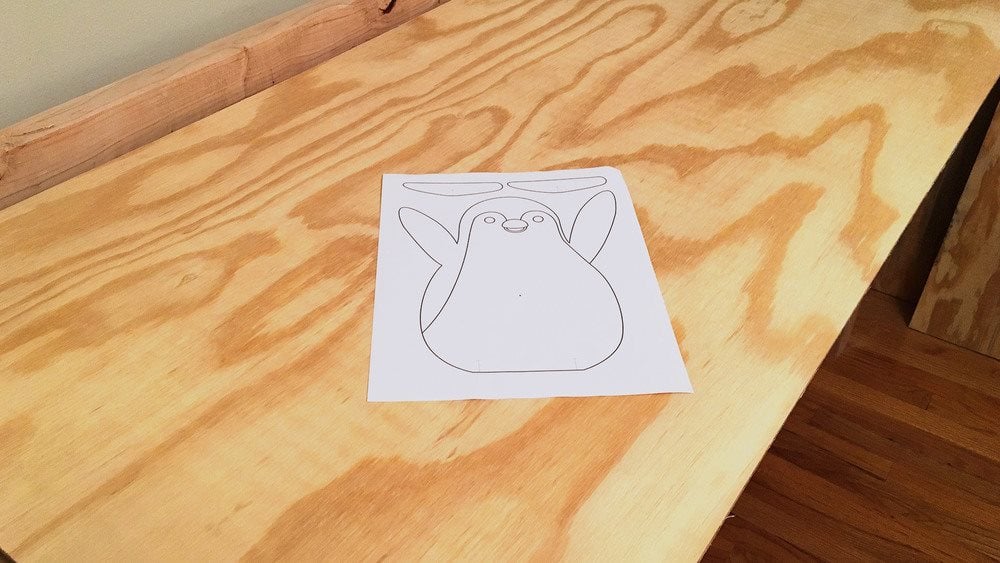
DOWNLOAD AND PRINT PATTERN
STEP 2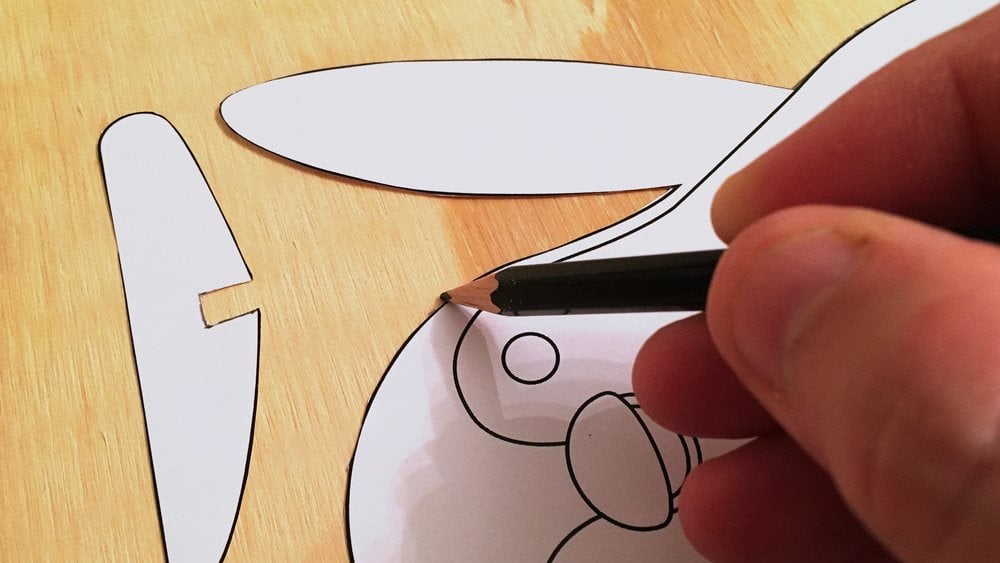
CUT PLYWOOD AND PAPER PATTERN a. Use a circular saw to cross cut the full sheet of plywood down to 22cm x 28cm. b. Cut out the paper pattern(s) using a pair of scissors c. Place the cutout on the 22cm x 28cm piece of plywood and use a pencil or marker to trace the inside and outside shape of your pattern
STEP 3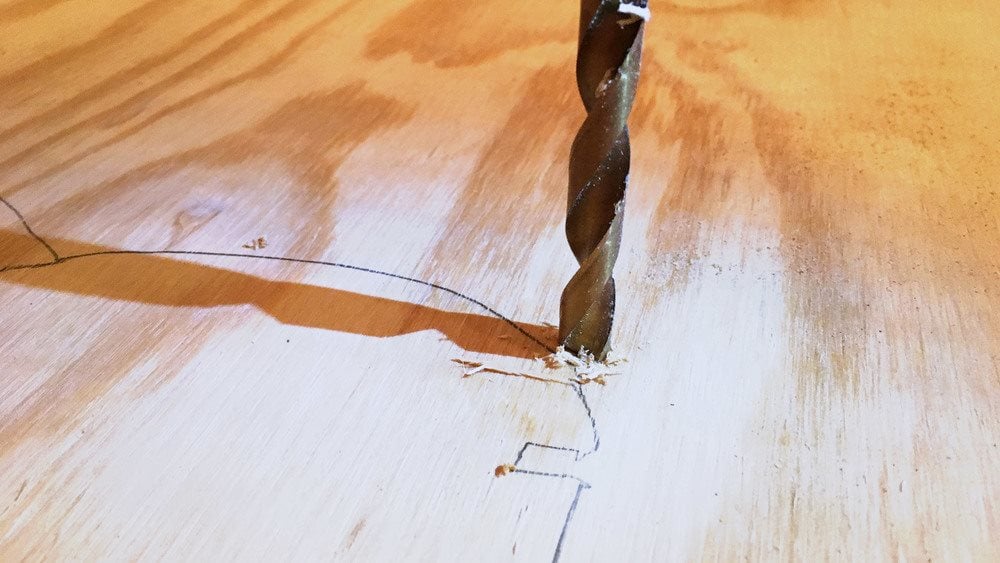
DRILL PILOT HOLES Using a drill, drill a pilot hole into the outer part of each shape. (Be sure the drill bit is a larger diameter than your jig saw blade)
STEP 4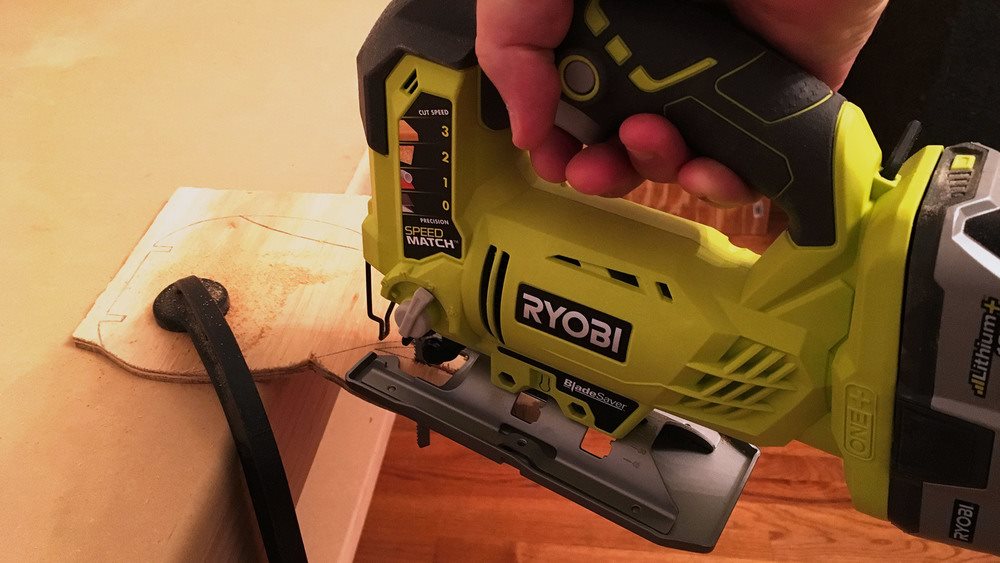
CUT THE SHAPES Using a jig saw, cut out the shapes you traced. (Start in the pilot holes)
STEP 5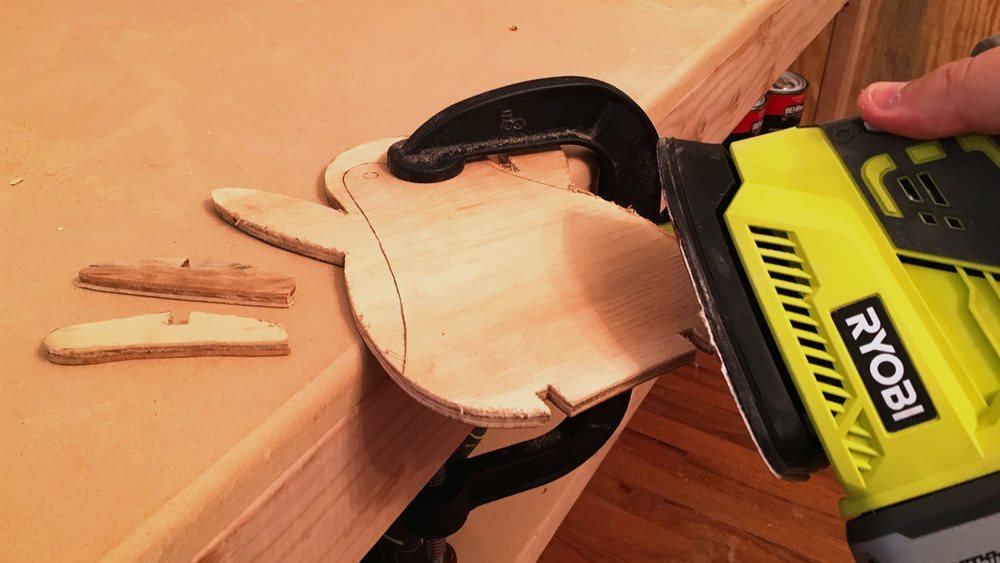
SAND AND CLEAN SHAPES a. Using a sander, sand the edges and flat surfaces of the shapes. (Make sure all rough or splintered areas are smoothed out) b. Using a workshop blower, clean o the shapes and workspace
STEP 6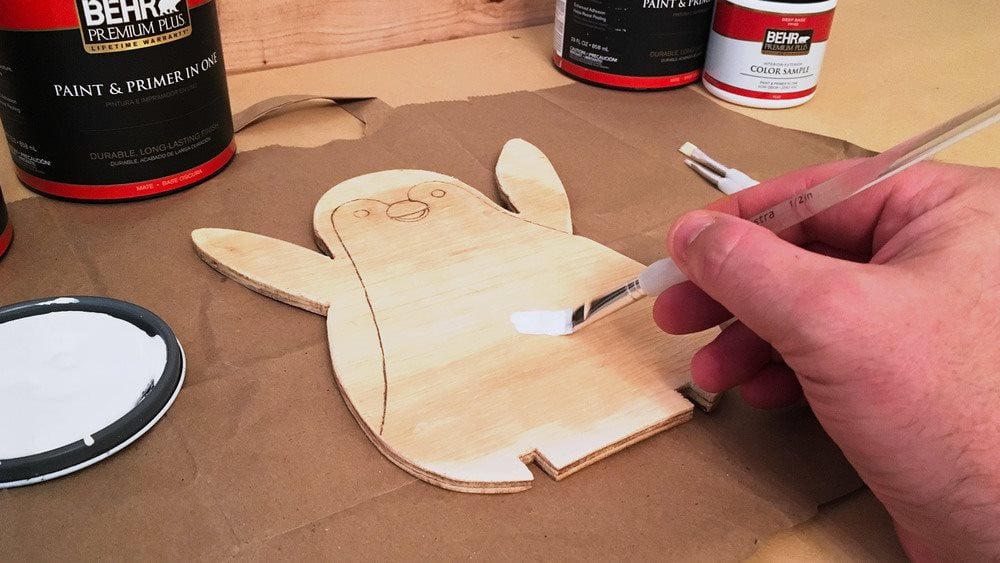
PAINT Paint the mantle art. (Wait until the paint dries before completing the next step)
STEP 7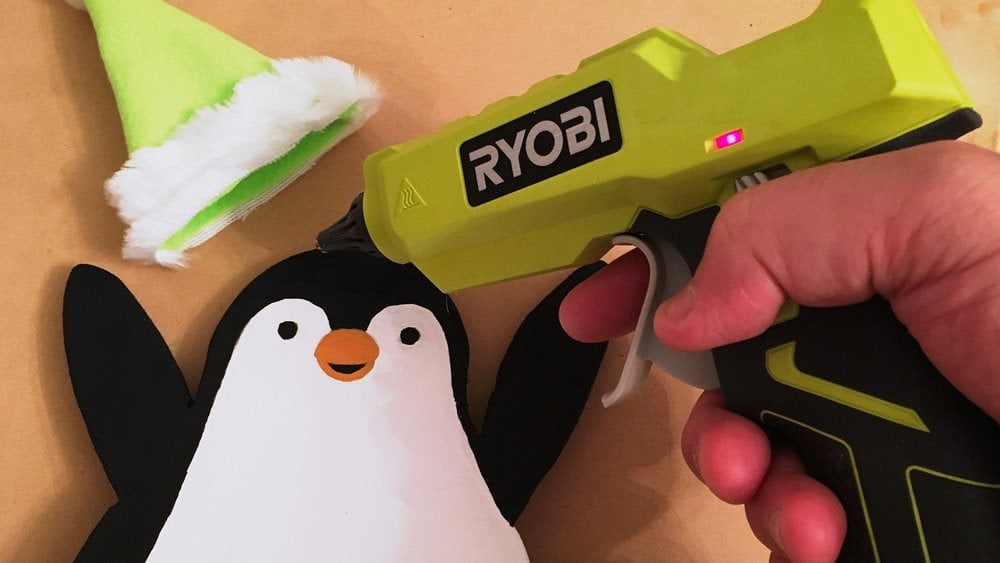
ATTACH HAT AND SCARF Using a hot glue gun or stapler, attached the hat and scarf. (Be sure to staple in areas where the folds in the material will cover the staples)
STEP 8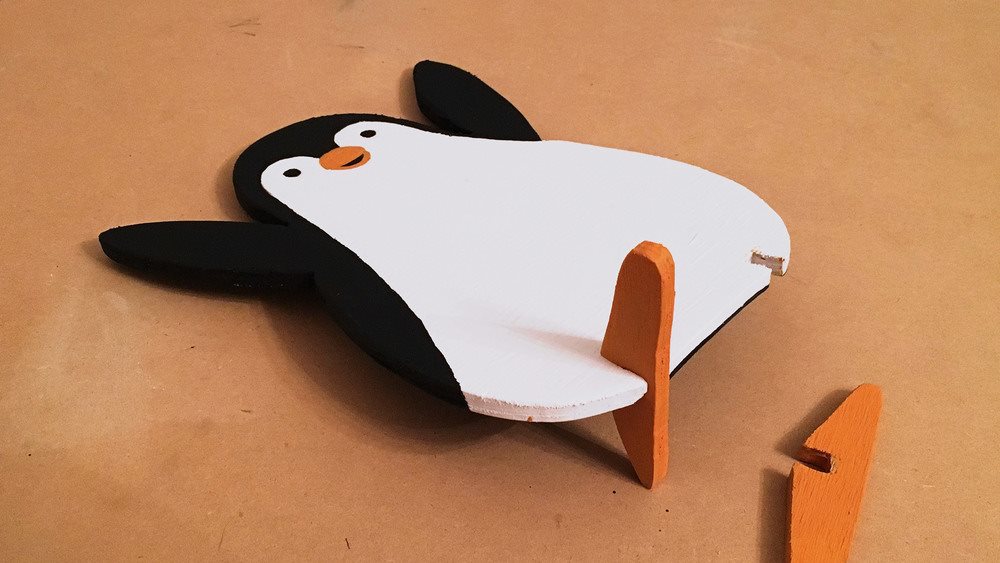 ASSEMBLE MANTLE ART For the final step, slide the feet into the notches on the body so the mantle art can stand on its own. Now the project is complete!
ENJOY!
Don't forget to tag us in your DIY projects on @ryobitoolsuk