Nothing brings life to a table like a festive centerpiece! Not only does it create a lovely Christmas spirit but it can be used for any occasion from family dinners to date nights. Make your very own festive centerpiece with this step by step guide.
Tools used
18V ONE+™ Cordless Compact Drill Driver
18V ONE+™ Cordless Palm Sander
18V ONE+™ Cordless Mitre Saw
18V ONE+™ Cordless 18 Gauge Nailer
18V ONE+™ Cordless 150mm Circular Saw
STEP 1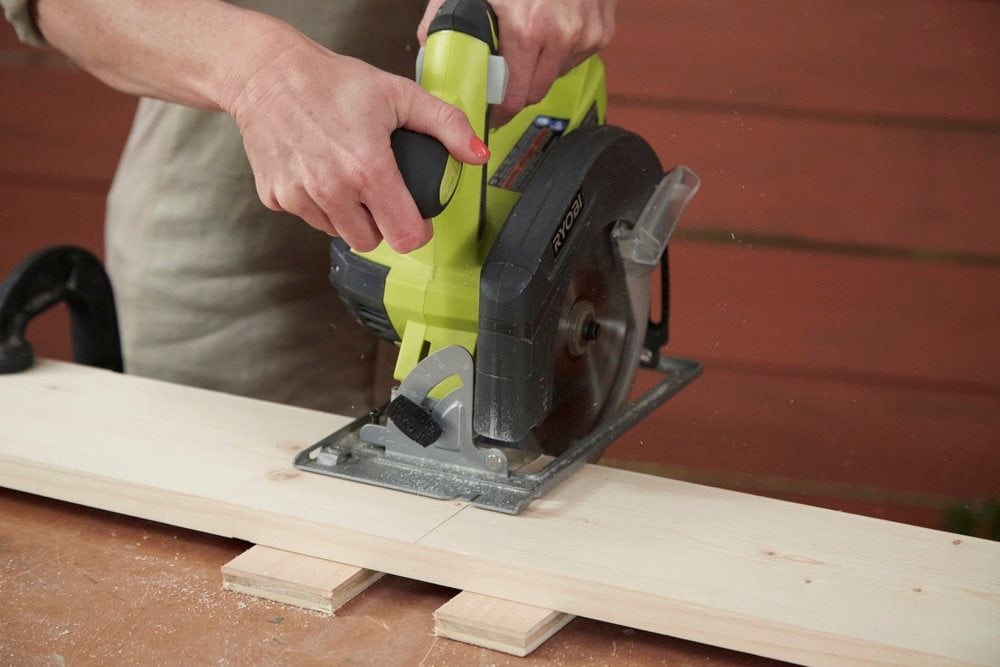
Start by cutting your 1x6 board. Make 4 cuts at 60cm each using a 18V ONE+™ Cordless Mitre Saw or 18V ONE+™ Cordless 150mm Circular Saw.
STEP 2
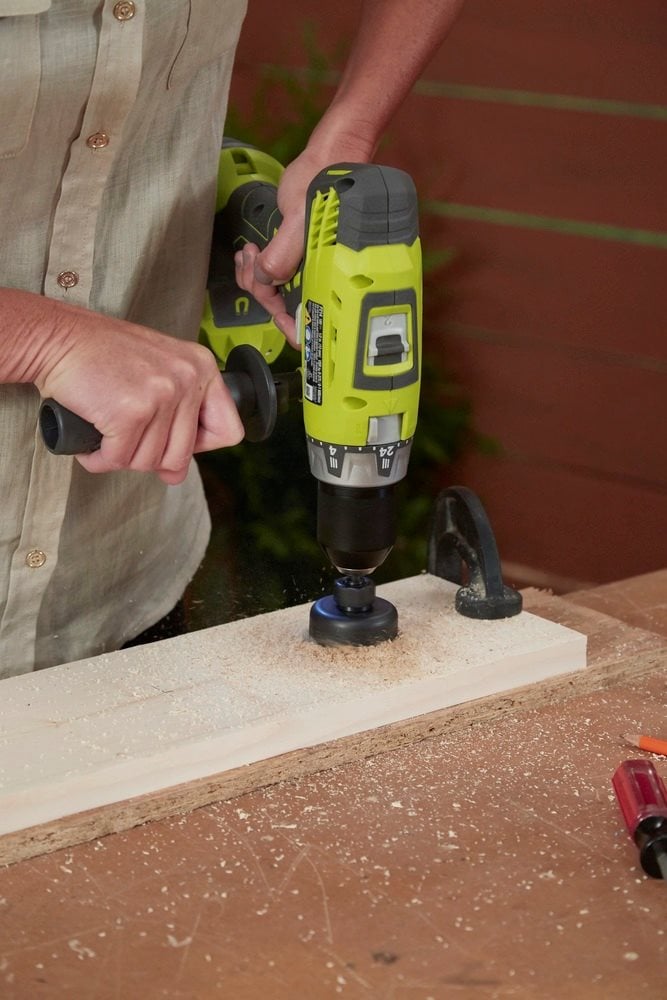
Use your 18V ONE+™Cordless Drill with a hole saw attachment to make 4 holes through one of the 60cm boards. Space them evenly about every 12cm.
STEP 3
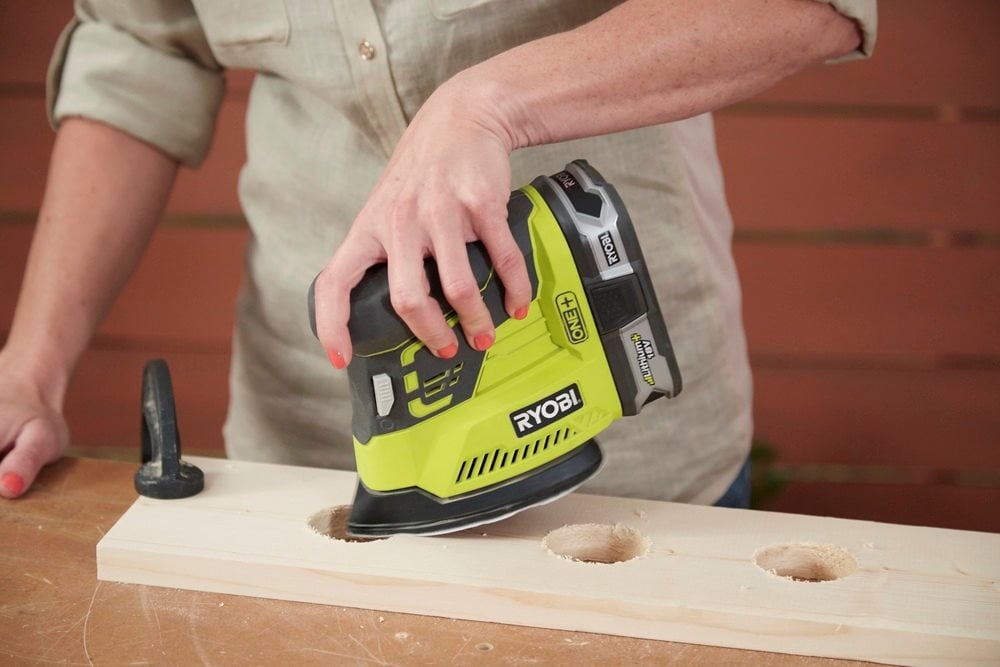
Once your holes are cut, use a 18V ONE+™ Cordless Palm Sander to smooth the edges.
STEP 4

Now it’s time to attach all of your boards. Use wood glue between each board, and stack the 3 boards without holes first. Hold the boards in place using the 18V ONE+™ Cordless Nailer with 3.2cm brad nails.
STEP 5
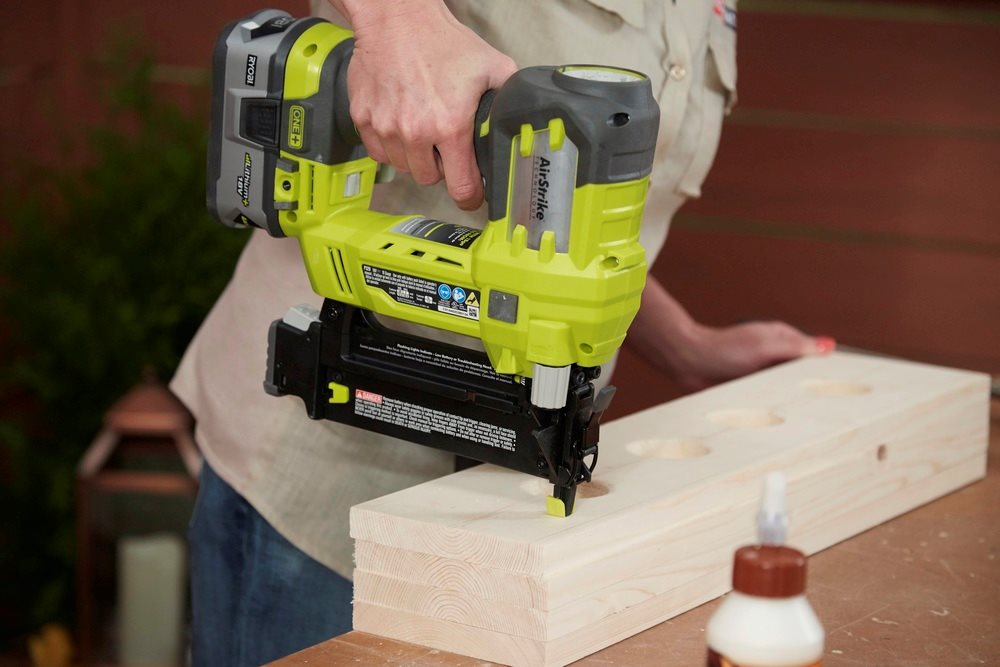
Stack the board with the holes last. Use wood glue on the bottom of this board before attaching it to your other 3 boards and nail in place using the 18V ONE+™ Cordless Nailer.
STEP 6
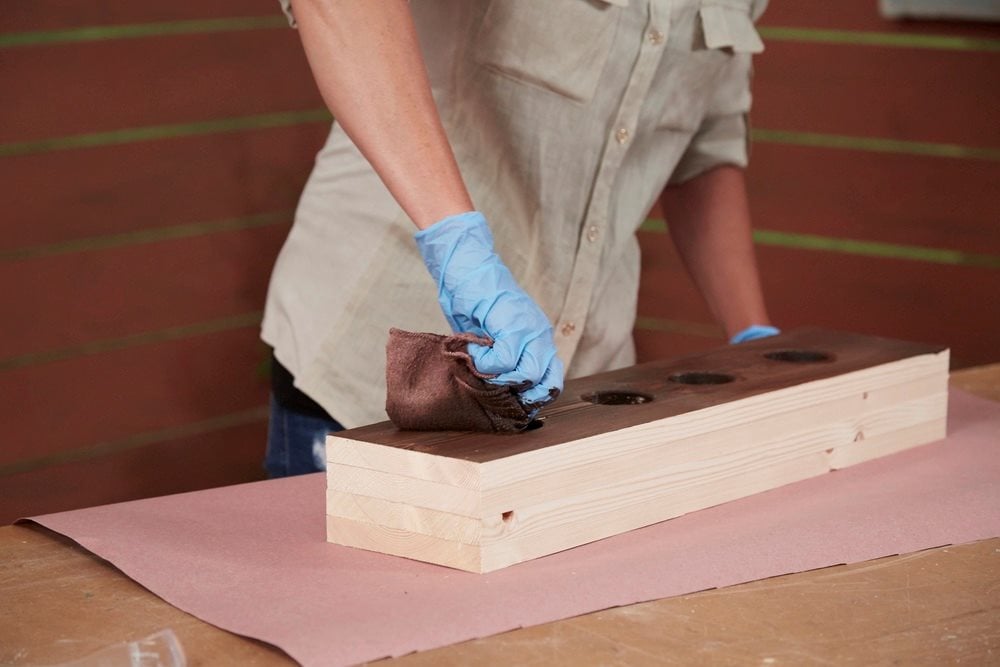
Now finish the block by using your choice of paint or wood stain. To give it a distressed finish use the sander lightly around the block once dry. Attach a metal pull to each each using your 18V ONE+™Cordless Drill.
STEP 7
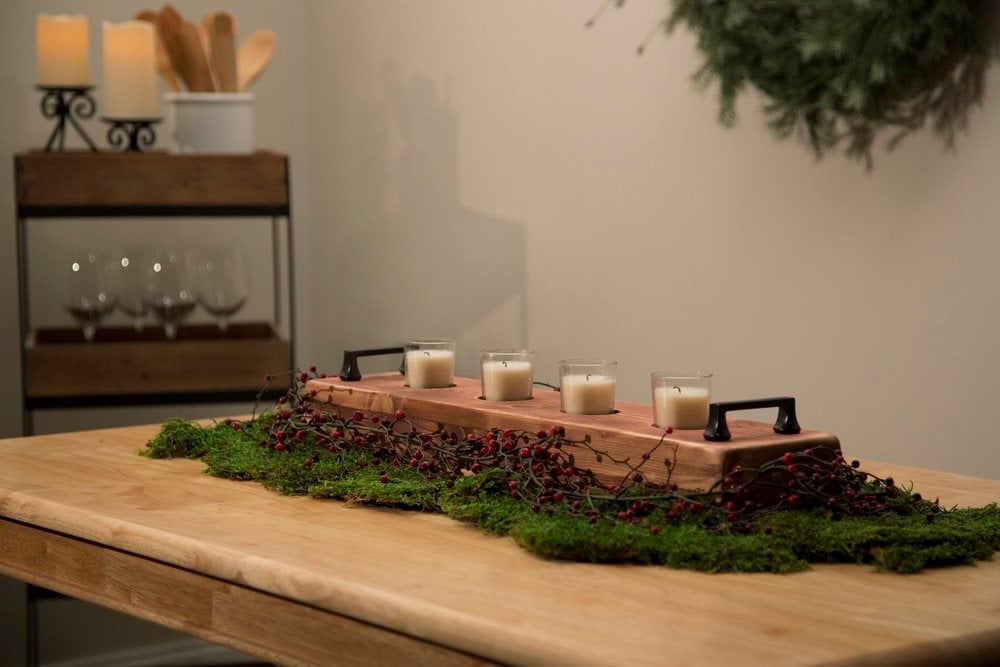
Fill small glass votives with candles and you have a perfect centerpiece! Add Christmas decorations to make it Christmas specific.
Don't forget to tag us in your DIY projects on @ryobitoolsuk