Want fresh herbs on hand whenever you're cooking? Even if you're short on outdoor space, a vertical herb garden can help you grow your own basil, parsley, rosemary and more without taking up valuable floor space.
Using a simple pallet planter, you can transform an unused balcony wall into a practical growing area that's easy to maintain and great to look at. Better still, it's a beginner-friendly DIY project that can be completed with a handful of materials and the right tools.
Follow our step-by-step guide to create your own pallet herb garden and enjoy fresh herbs whenever your meal calls for them.
Your materials and equipment checklist
Before you get started, here's everything you'll need for your DIY vertical garden herb wall.
MATERIALS YOU NEED
• Wooden pallet
• Landscape fabric or plant pots
• Potting compost
• Herb plants (basil, parsley, thyme, rosemary, mint, coriander, lavender)
• Exterior screws and wall plugs
• Plant labels
• Watering can or jug
TOOLS YOU NEED
• Tape measure
• Spirit or laser level
• Drill driver and/or combi drill
• Random orbit sander
• Staple gun
• Pencil or marker
• Scissors
1) Prep your DIY herb wall planter
A little preparation goes a long way. Taking the time to get your pallet ready before installation can help create a neater finish and make planting much easier later on.
Check and prepare the pallet
If you're building your planter from a reclaimed pallet, check that it's clean and suitable for garden use before you begin.
Start by inspecting your pallet for damaged wood, loose boards or protruding nails. Reinforce or replace any loose sections before continuing.
Once you're happy with the condition of the pallet, take a 5m Measuring Tape and measure your available wall space to make sure the DIY herb wall planter will fit comfortably on your balcony or exterior wall.
If you're adapting a pallet to suit a particular space or creating additional planting sections, you may need to cut the wood to size. A compact circular saw or jigsaw can help you make clean, accurate cuts before assembly.
Sand rough edges
Wooden pallets can often be rough or splintered, so it's worth spending a few minutes sanding them down before assembling your DIY herb wall planter.
The RYOBI® 18V ONE+™ Cordless Random Orbit Sander helps to smooth rough surfaces and edges, creating a cleaner finish that's safer to handle during installation, planting and maintenance.
[Rhea Lester-James, Junior Product Manager] at RYOBI®, explains a little more:
"Many DIY projects become much easier when you spend a little extra time preparing before assembly. A quick sanding pass helps create a better finish and makes the finished planter more enjoyable to use. It could also save you a few nasty splinters while you're getting your pallet planter mounted."
Create planting pockets
To turn the pallet into a functioning herb wall planter, line the back and inside of each planting section with landscape fabric. You might need to cut the fabric to size with a pair of scissors first.
The fabric can be secured with the 18V ONE+™ Cordless Stapler, making sure each pocket is firmly attached. The fabric will help to hold the compost in place while still allowing excess water to drain away.
Alternatively, you can use the pallet as a frame for individual plant pots or trough planters. Simply position lightweight herb pots between the slats or attach planter troughs to the pallet structure.
Whichever approach you choose, you'll create a space-saving, herb wall planter that's perfect for growing fresh herbs on a balcony or in a small outdoor area.
2) Mount the herb wall planter safely
With the DIY herb wall planter prepared, it's time to mount it securely.
Because the finished vertical herb garden will eventually carry the weight of wood, compost, water and plants, it's essential to ensure it's fixed properly before planting.
Choose the right location
Look for a balcony or exterior wall that receives plenty of natural sunlight throughout the day. Most culinary herbs thrive in bright, sunny conditions, so position your planter in the right spot to encourage healthy growth.
You'll also want to make sure it's easy to access for watering, harvesting and ongoing maintenance.
Measure and level
Use your tape measure again to determine the ideal mounting height. Mark your fixing positions with a pencil or marker and then check everything is level with a spirit level.
An 60 cm Box Level should provide the coverage needed. If you're working across a larger area, though, a laser level like the RYOBI® 15m Green Cross Line Laser might be the better choice to help keep your guide marks accurate and consistent.
Taking a little extra time here can make a big difference to the finished appearance.
Fix your DIY pallet planter to the wall
With your fixing points marked, drill pilot holes using a suitable drill bit for your wall type. The RYOBI® 18V ONE+™ Cordless Combi Drill is a great all-rounder when it comes to most DIY tasks.
Insert wall plugs before securing the planter using suitable exterior-grade screws and fixings. The 18V ONE+™ Cordless Compact Drill Driver is a reliable, compact option for controlled screwdriving. Depending on your setup, heavy-duty wall brackets can provide additional support for larger planters.
After installation, perform a quick stability check. Give the planter a gentle wobble to confirm it's fully secure before adding any compost or plants.
Solid installation can help prevent problems later when the herb wall planter is carrying extra weight.
3) Plant your vertical herb garden
Now for one of the most rewarding parts: bringing your herb wall planter to life.
Add compost and herbs
Fill each planting pocket with fresh compost, taking care not to compact it too tightly. You can then add your chosen herb plants.
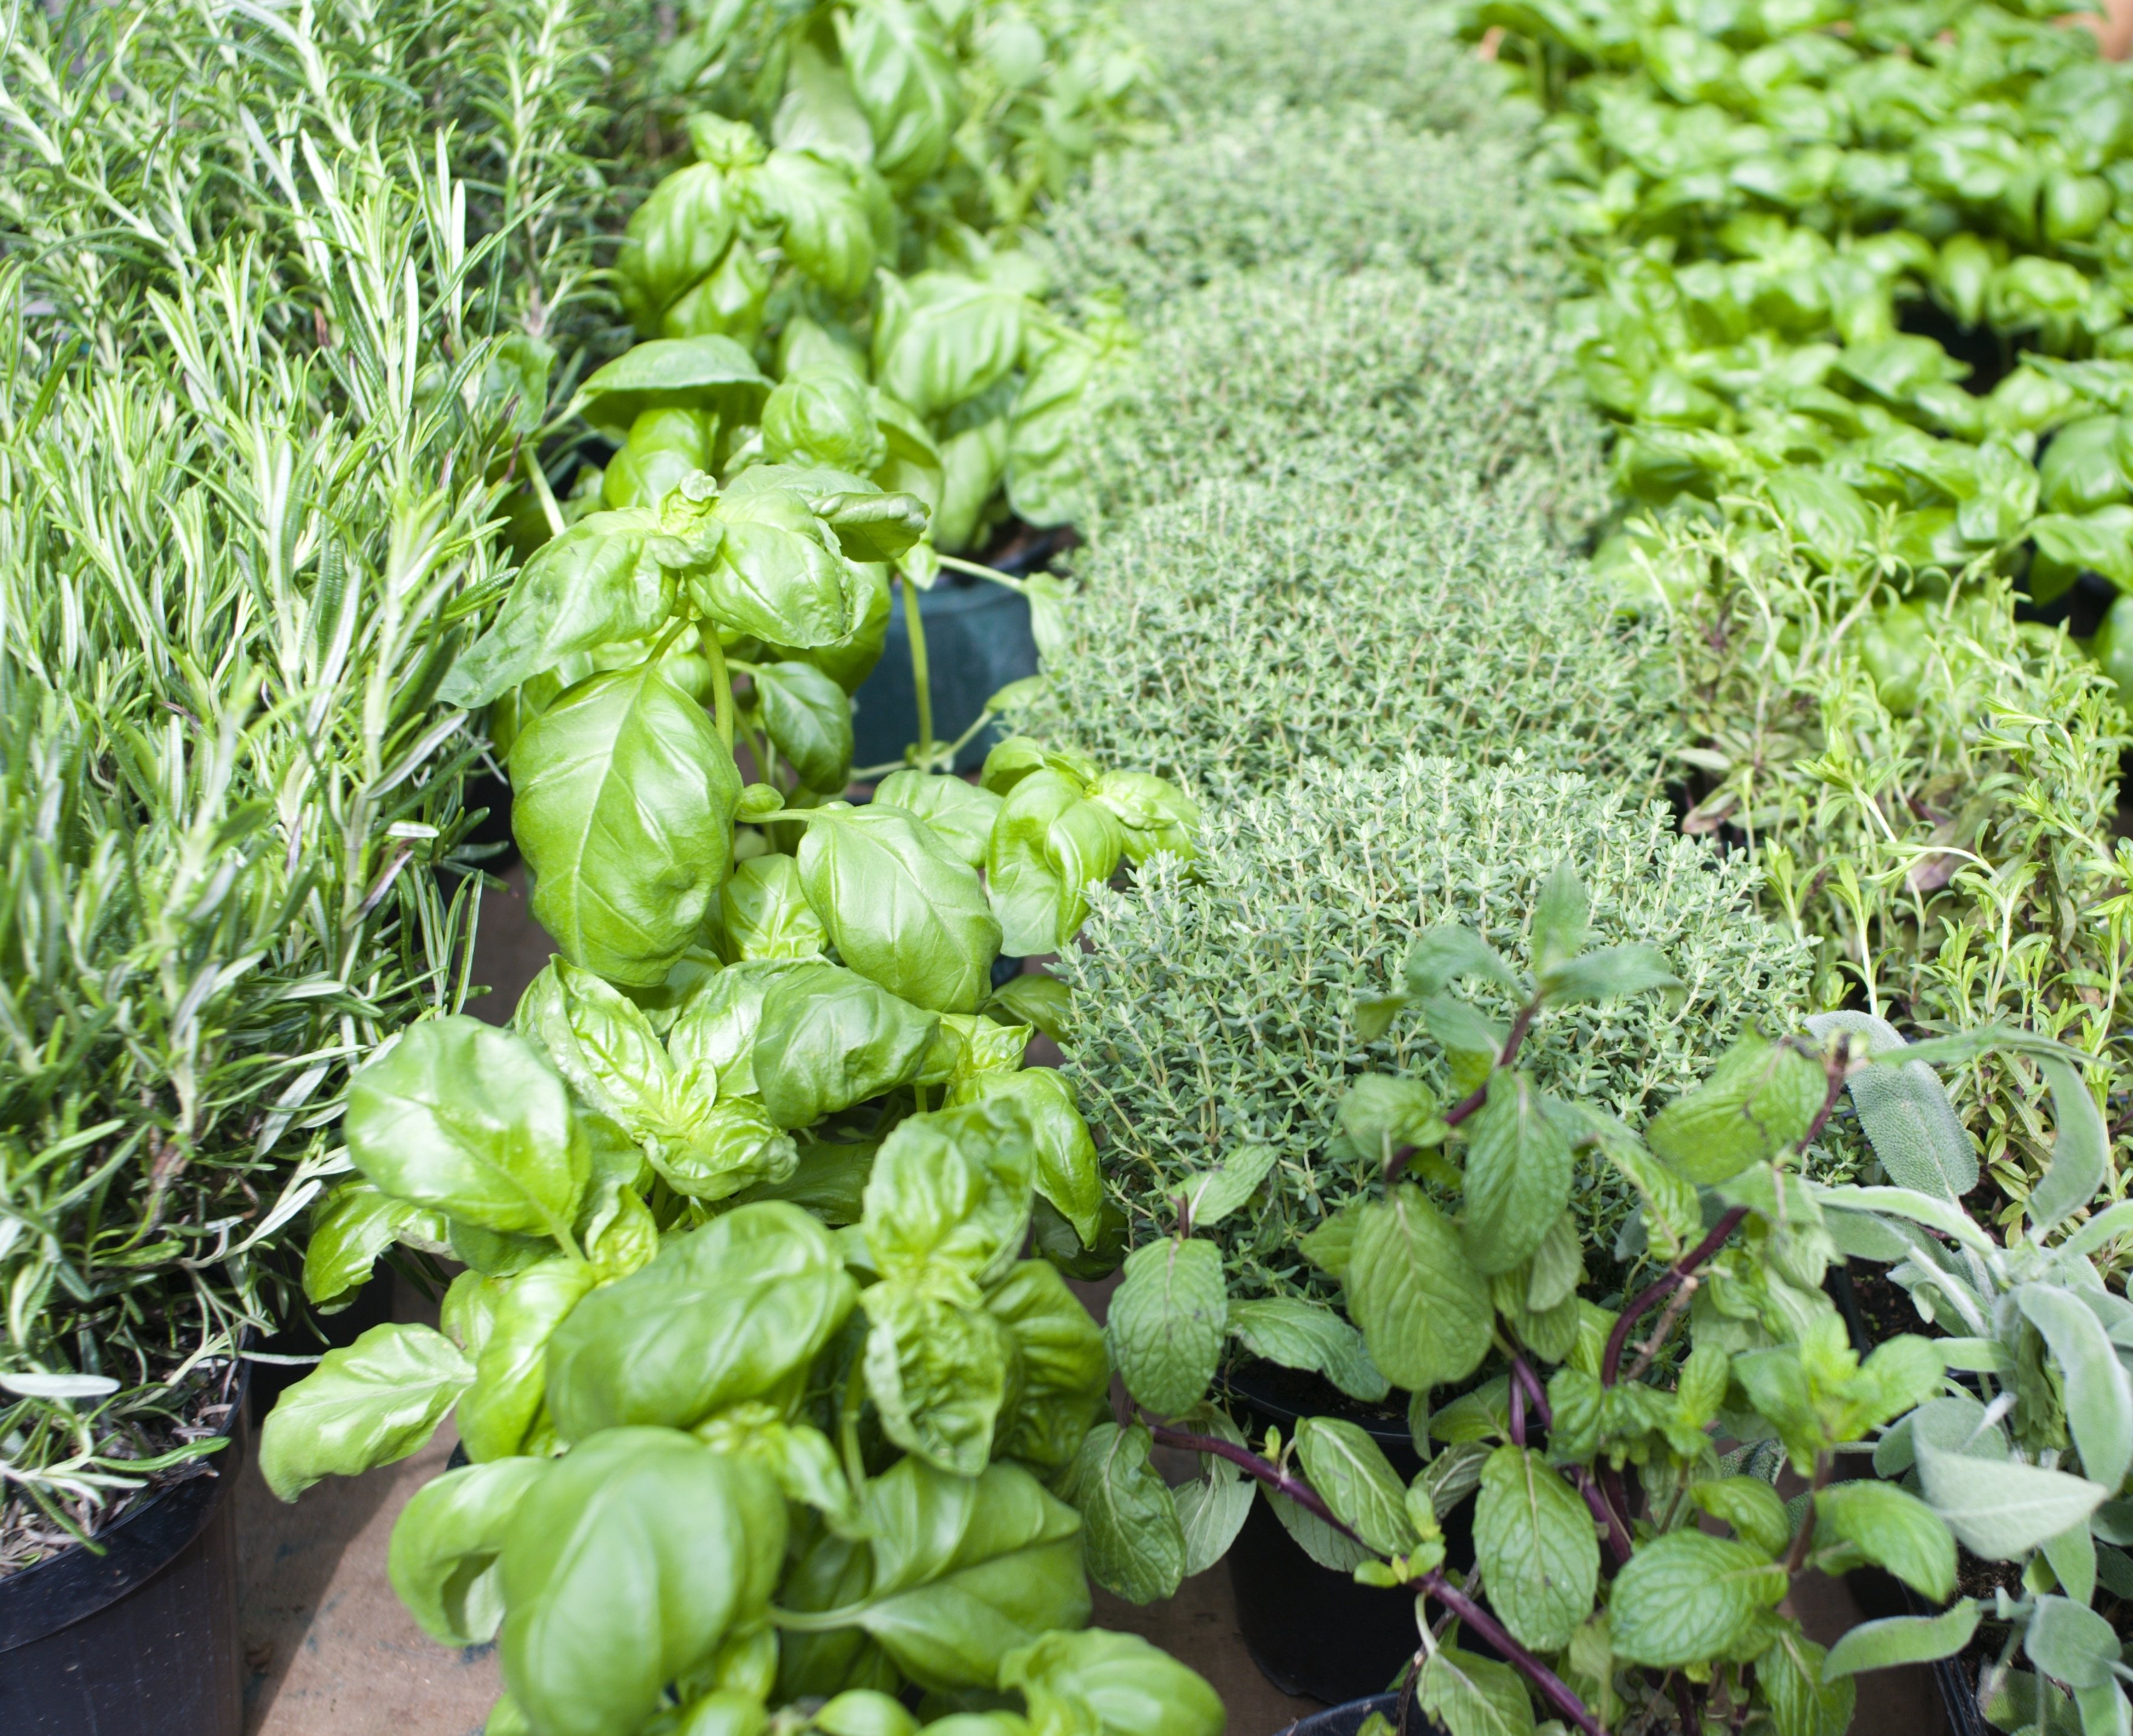
Popular options include:
• Basil
• Parsley
• Thyme
• Rosemary
• Mint
These are all great options for beginner gardeners and can be used in a wide variety of recipes.
Group herbs with similar needs
Some herbs enjoy similar conditions, making them easier to care for when planted together. Others are best planted in their own space.
For example:
• Rosemary and thyme prefer sunny, well-drained conditions
• Parsley and basil enjoy sun with a bit more moisture in the soil
• Mint is often best kept in its own container because it can grow aggressively
Some thoughtful planning and planting can help make looking after your herb wall planter that little bit simpler.
Water and label
Once planted, water everything thoroughly and allow the compost to settle. Finish by adding plant labels so you can easily identify each herb as it grows.
You could also personalise your DIY herb wall by painting or staining the pallet and adding decorative labels.
Before long, you'll have fresh ingredients just steps from your kitchen.
DIY herb wall planter FAQs
Can I build a herb garden on a small balcony?
Yes, absolutely. A herb wall garden is specifically designed to maximise growing space in small outdoor spaces. By using a DIY pallet planter and wall space rather than floor space, you can easily grow a variety of herbs on a small balcony.
Can I use a pallet to make a vertical garden planter?
Yes. Wooden pallets are a popular option because they're affordable, easy-to-customise and naturally suited to DIY garden projects. Even DIY beginners can turn an ordinary pallet into a wooden herb planter.
Does a herb planter need to be wall-mounted?
Not necessarily. Wall-mounting is useful to free up floor space, but you could also lean a DIY pallet planter against a wall if you want a simpler project. Alternatively, you could create a hanging herb planter with the right space and fixings.
Do more and grow more with RYOBI®
Your herb wall planter is complete. What started as a plain, unused wall can now provide fresh ingredients for sauces, salads, pizzas and countless other meals.
Projects like this show that DIY doesn't have to be complicated or expensive. With a little planning, the right materials and reliable tools, creating something practical for your home can be easier than you think.
Explore the full range of RYOBI® tools online and discover even more ways to transform your home, inside and out, by visiting our blog.